 "MM54" (mm54mk2)
02/19/2019 at 20:20 ē Filed to: '71Chevelle
 5
5
 1
1
 "MM54" (mm54mk2)
02/19/2019 at 20:20 ē Filed to: '71Chevelle |  5 5
|  1 1 |
In this photo-heavy series, Iím going through (in detail) the work going into fitting a hydraulic clutch to the Chevelle in place of the factory z-bar mechanical linkage.
When we left off, we had made the plate to which the clutch MC mounts more or less the same as it was back when the car had a Powerglide in it. The next step, once the paint dried, was to put it back in the car and use a straightedge to determine where the pedal rod w ould need to go. Below, the dashed line is in-line with the pedal and the solid is the centerline of the rod.
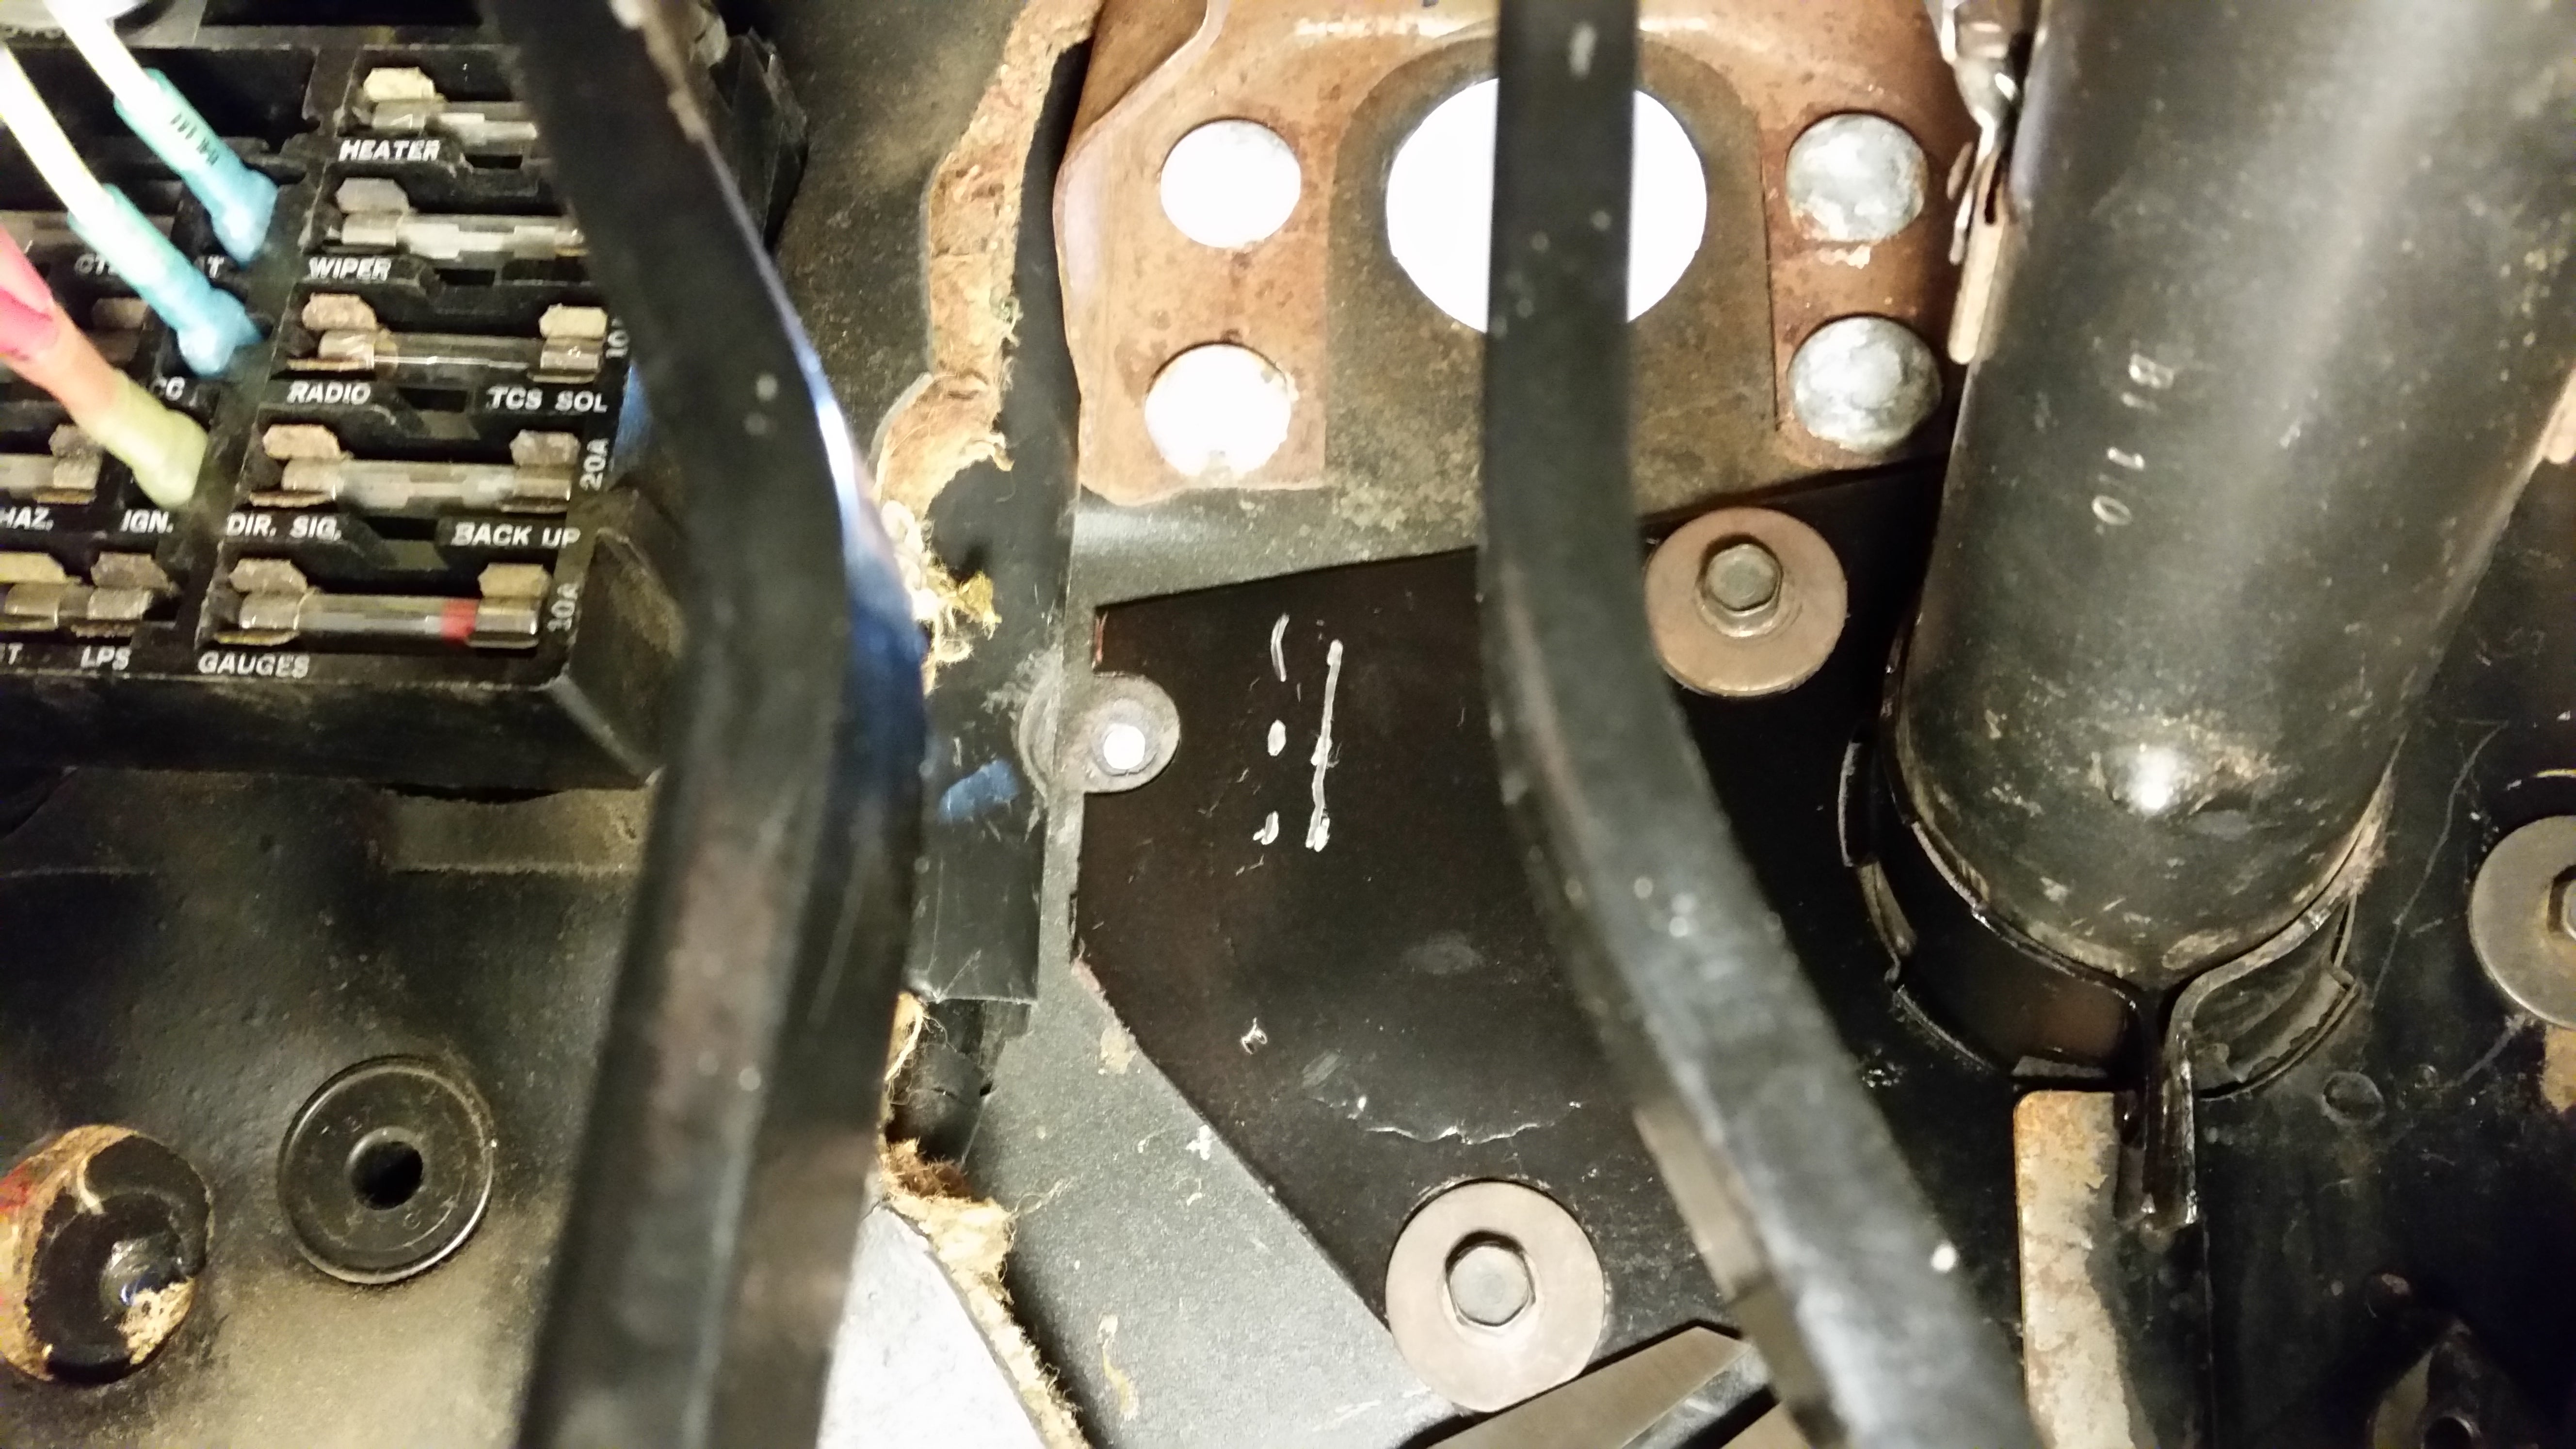
Laying in the footwell gets old fast every time
The plate was then removed from the car (this is a recurring trend), this mark used to position the clamp plate for the clutch, and the four bolt holes marked and drilled.
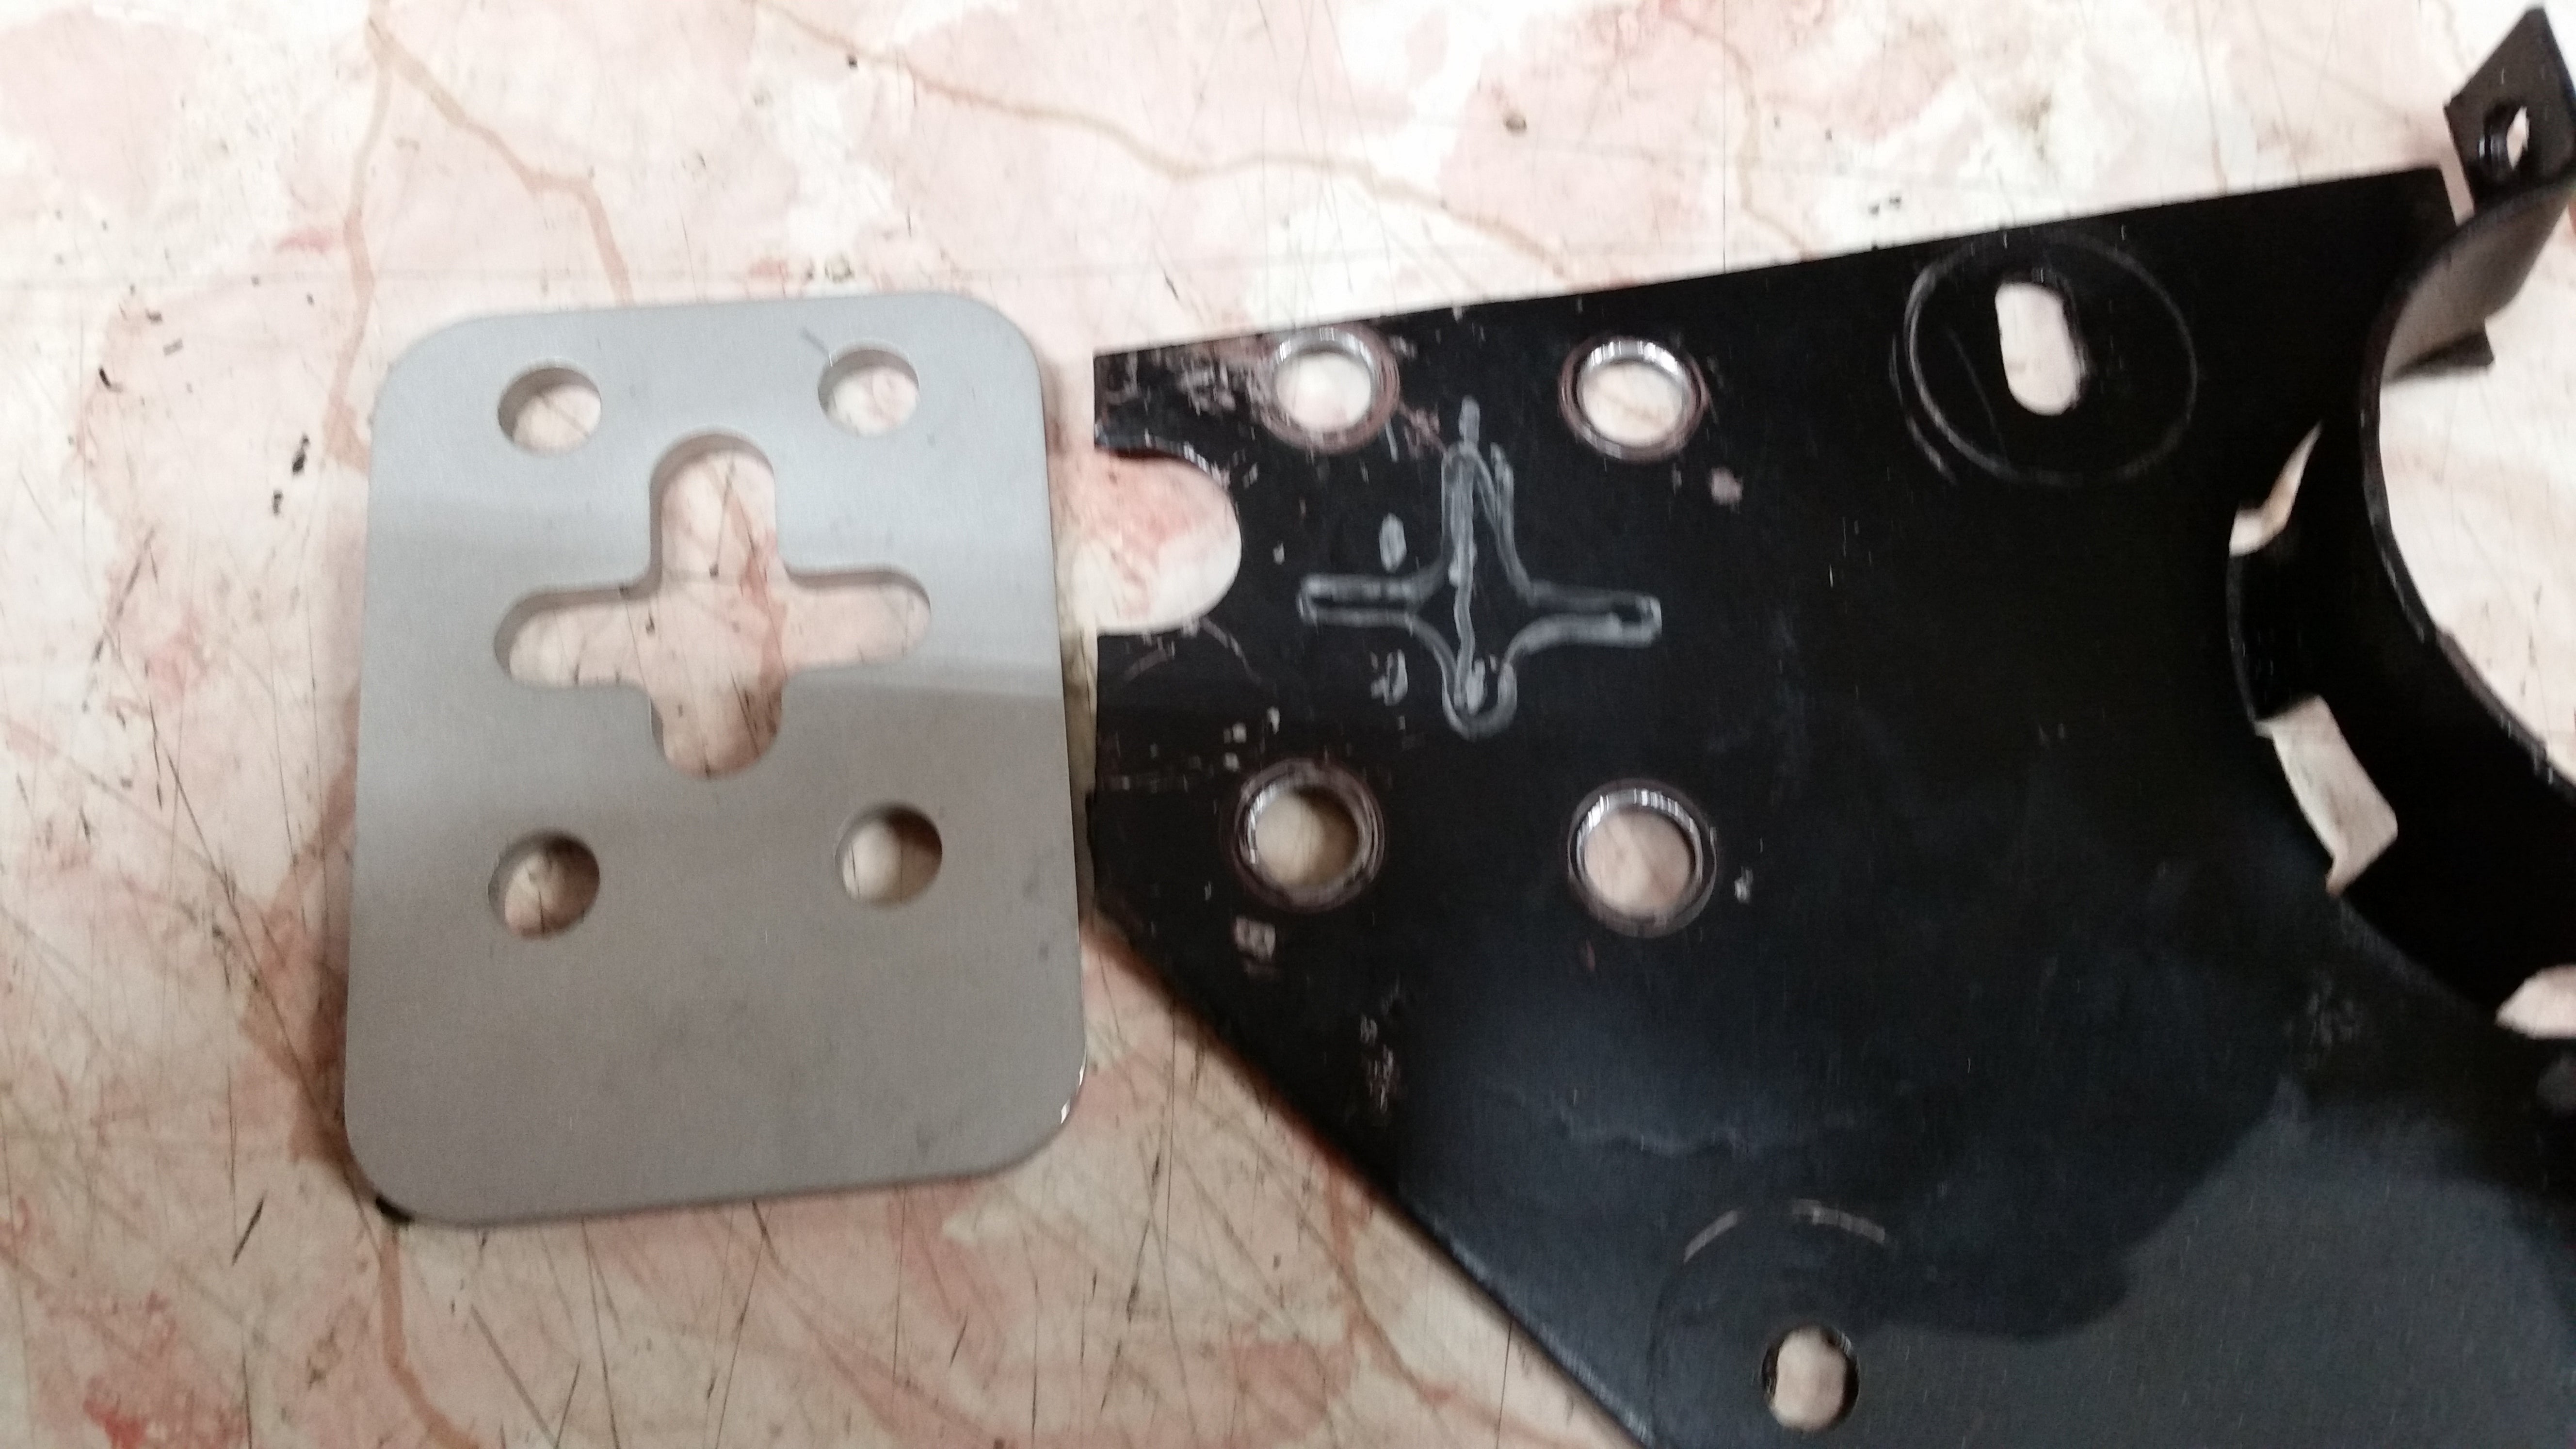
What a lovely blurry picture this is. Thanks, phone!
The plate could then be bolted to the, erm, other plate. This allowed the plus-shaped hole to be transferred via scribe and the centerlines found.
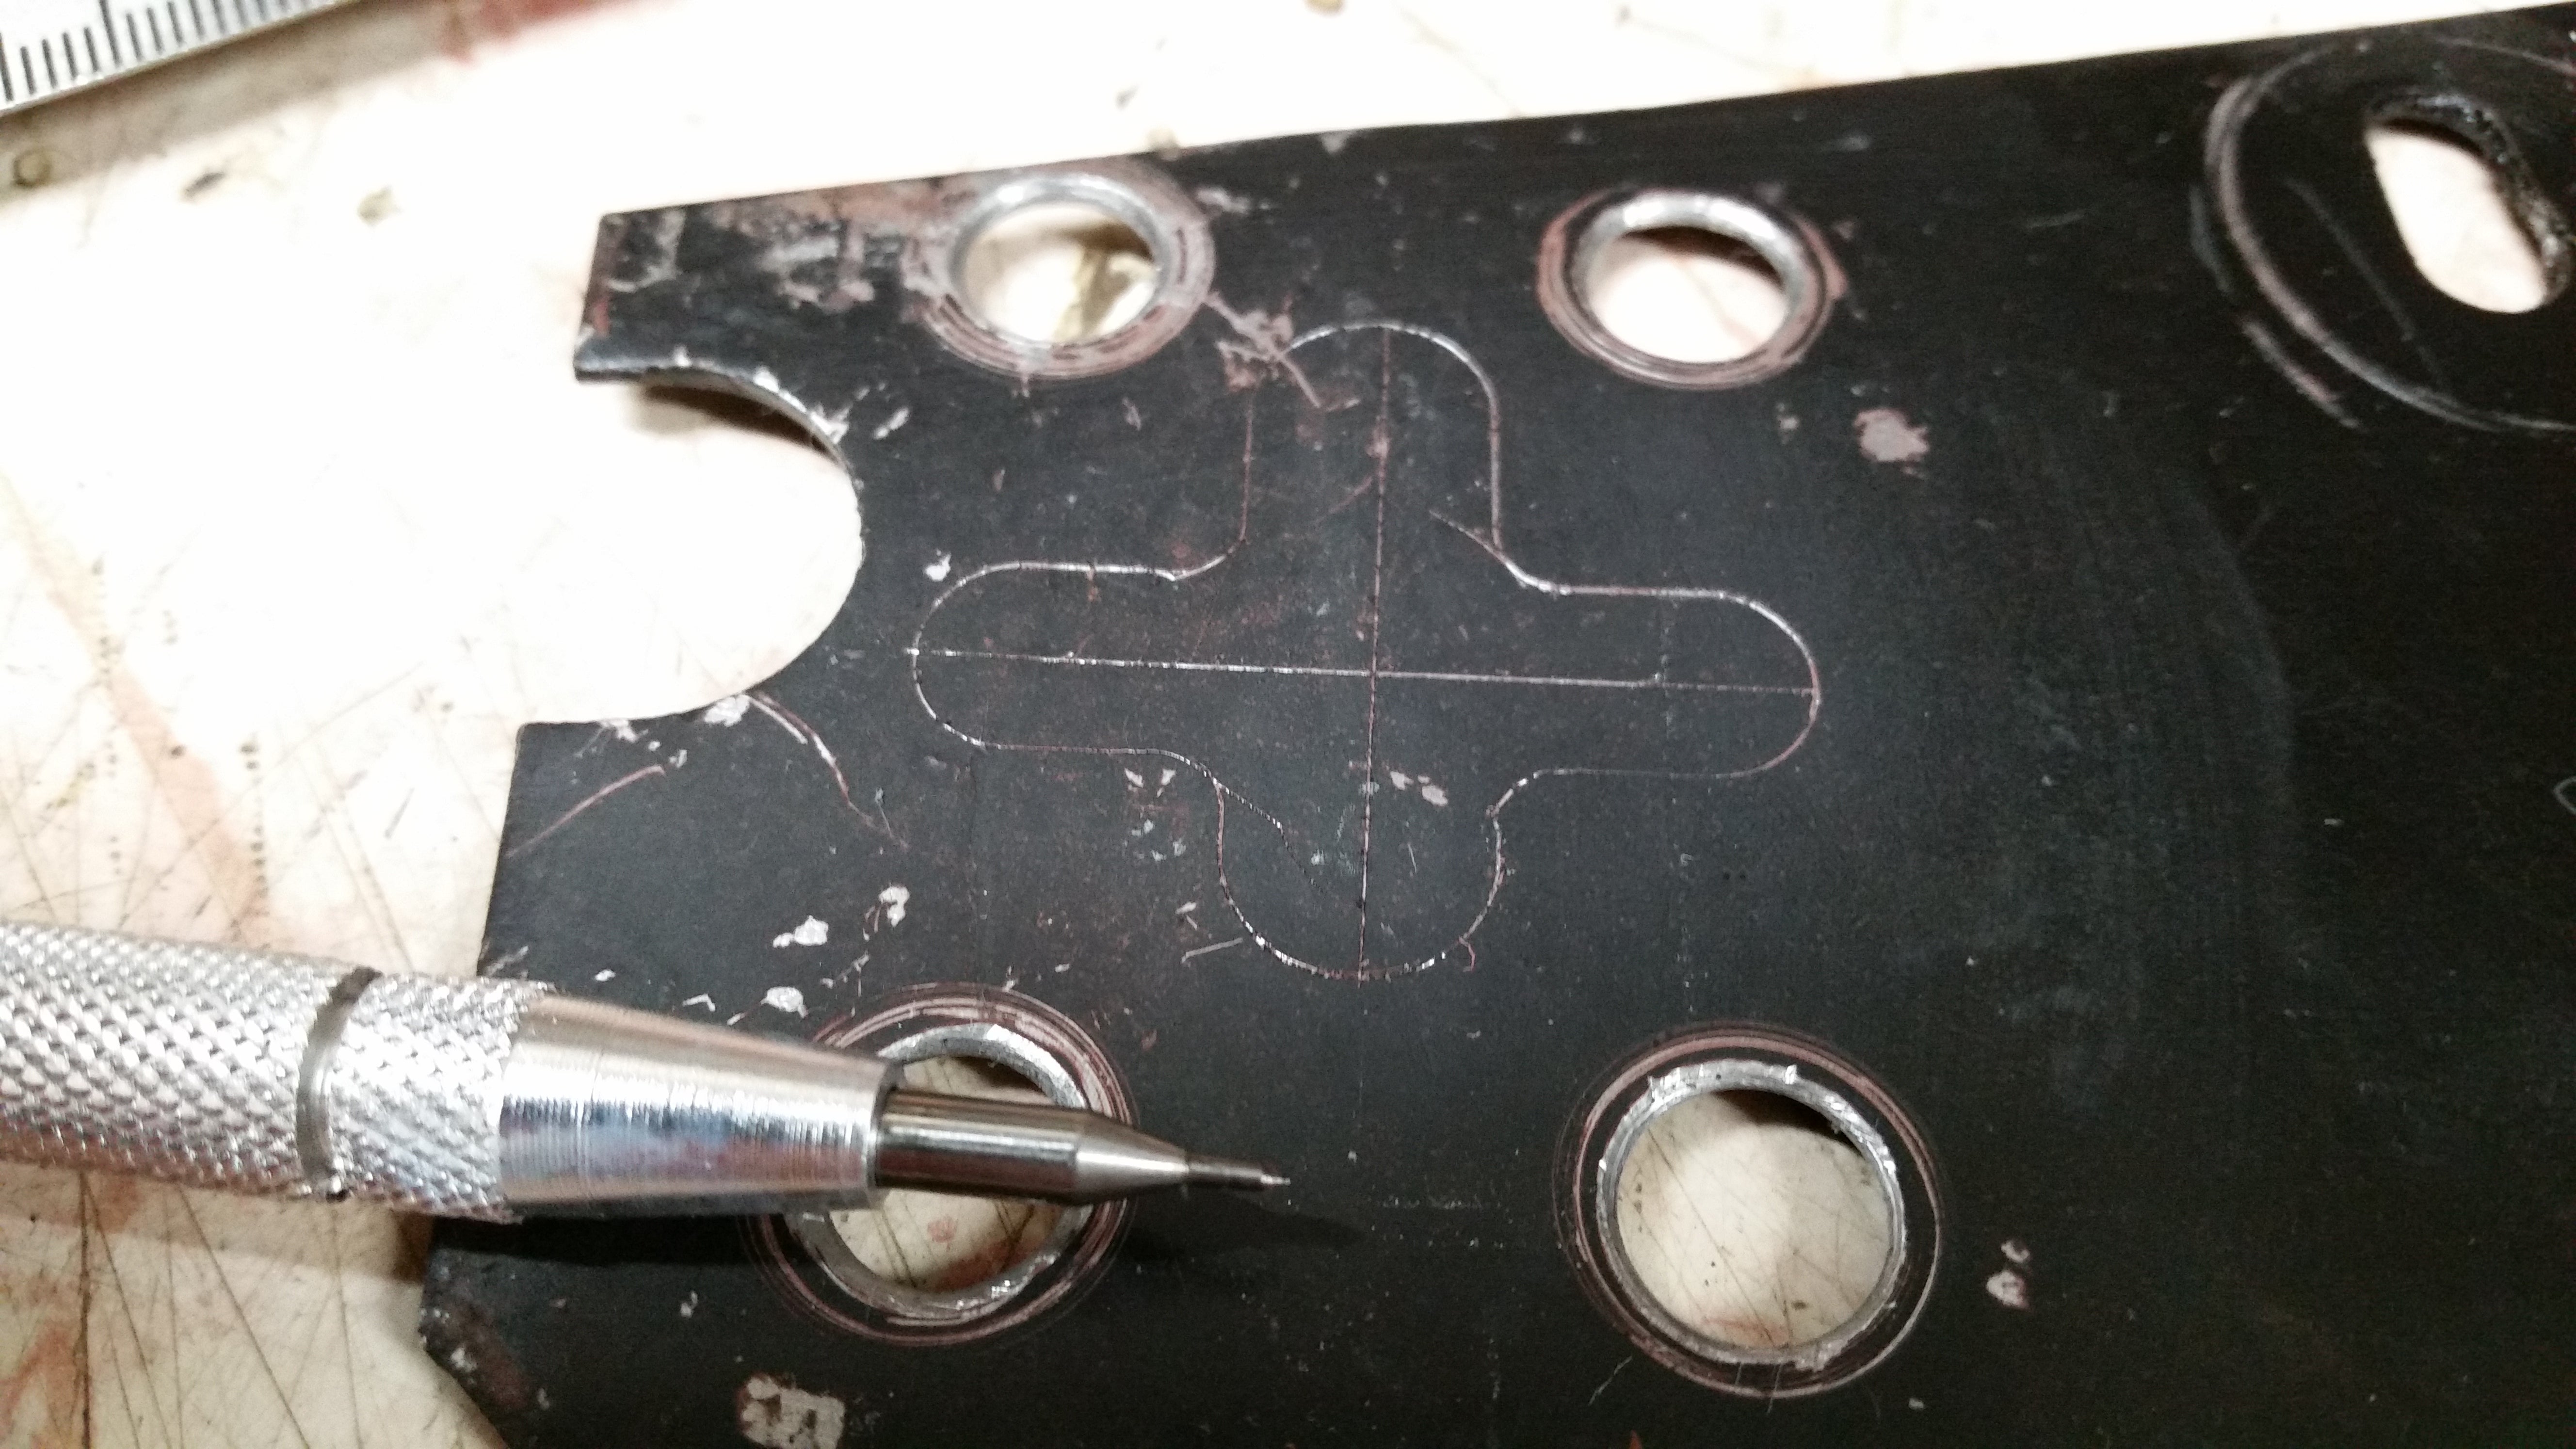
Yes I know the vertical one isnít centered on the top; it is more than close enough for what Iím doing.
The center was drilled to the appropriate size for the rod, however this rod passes through at an angle, as the MC is angled down so that it, you know, works (based on where the pedal is).
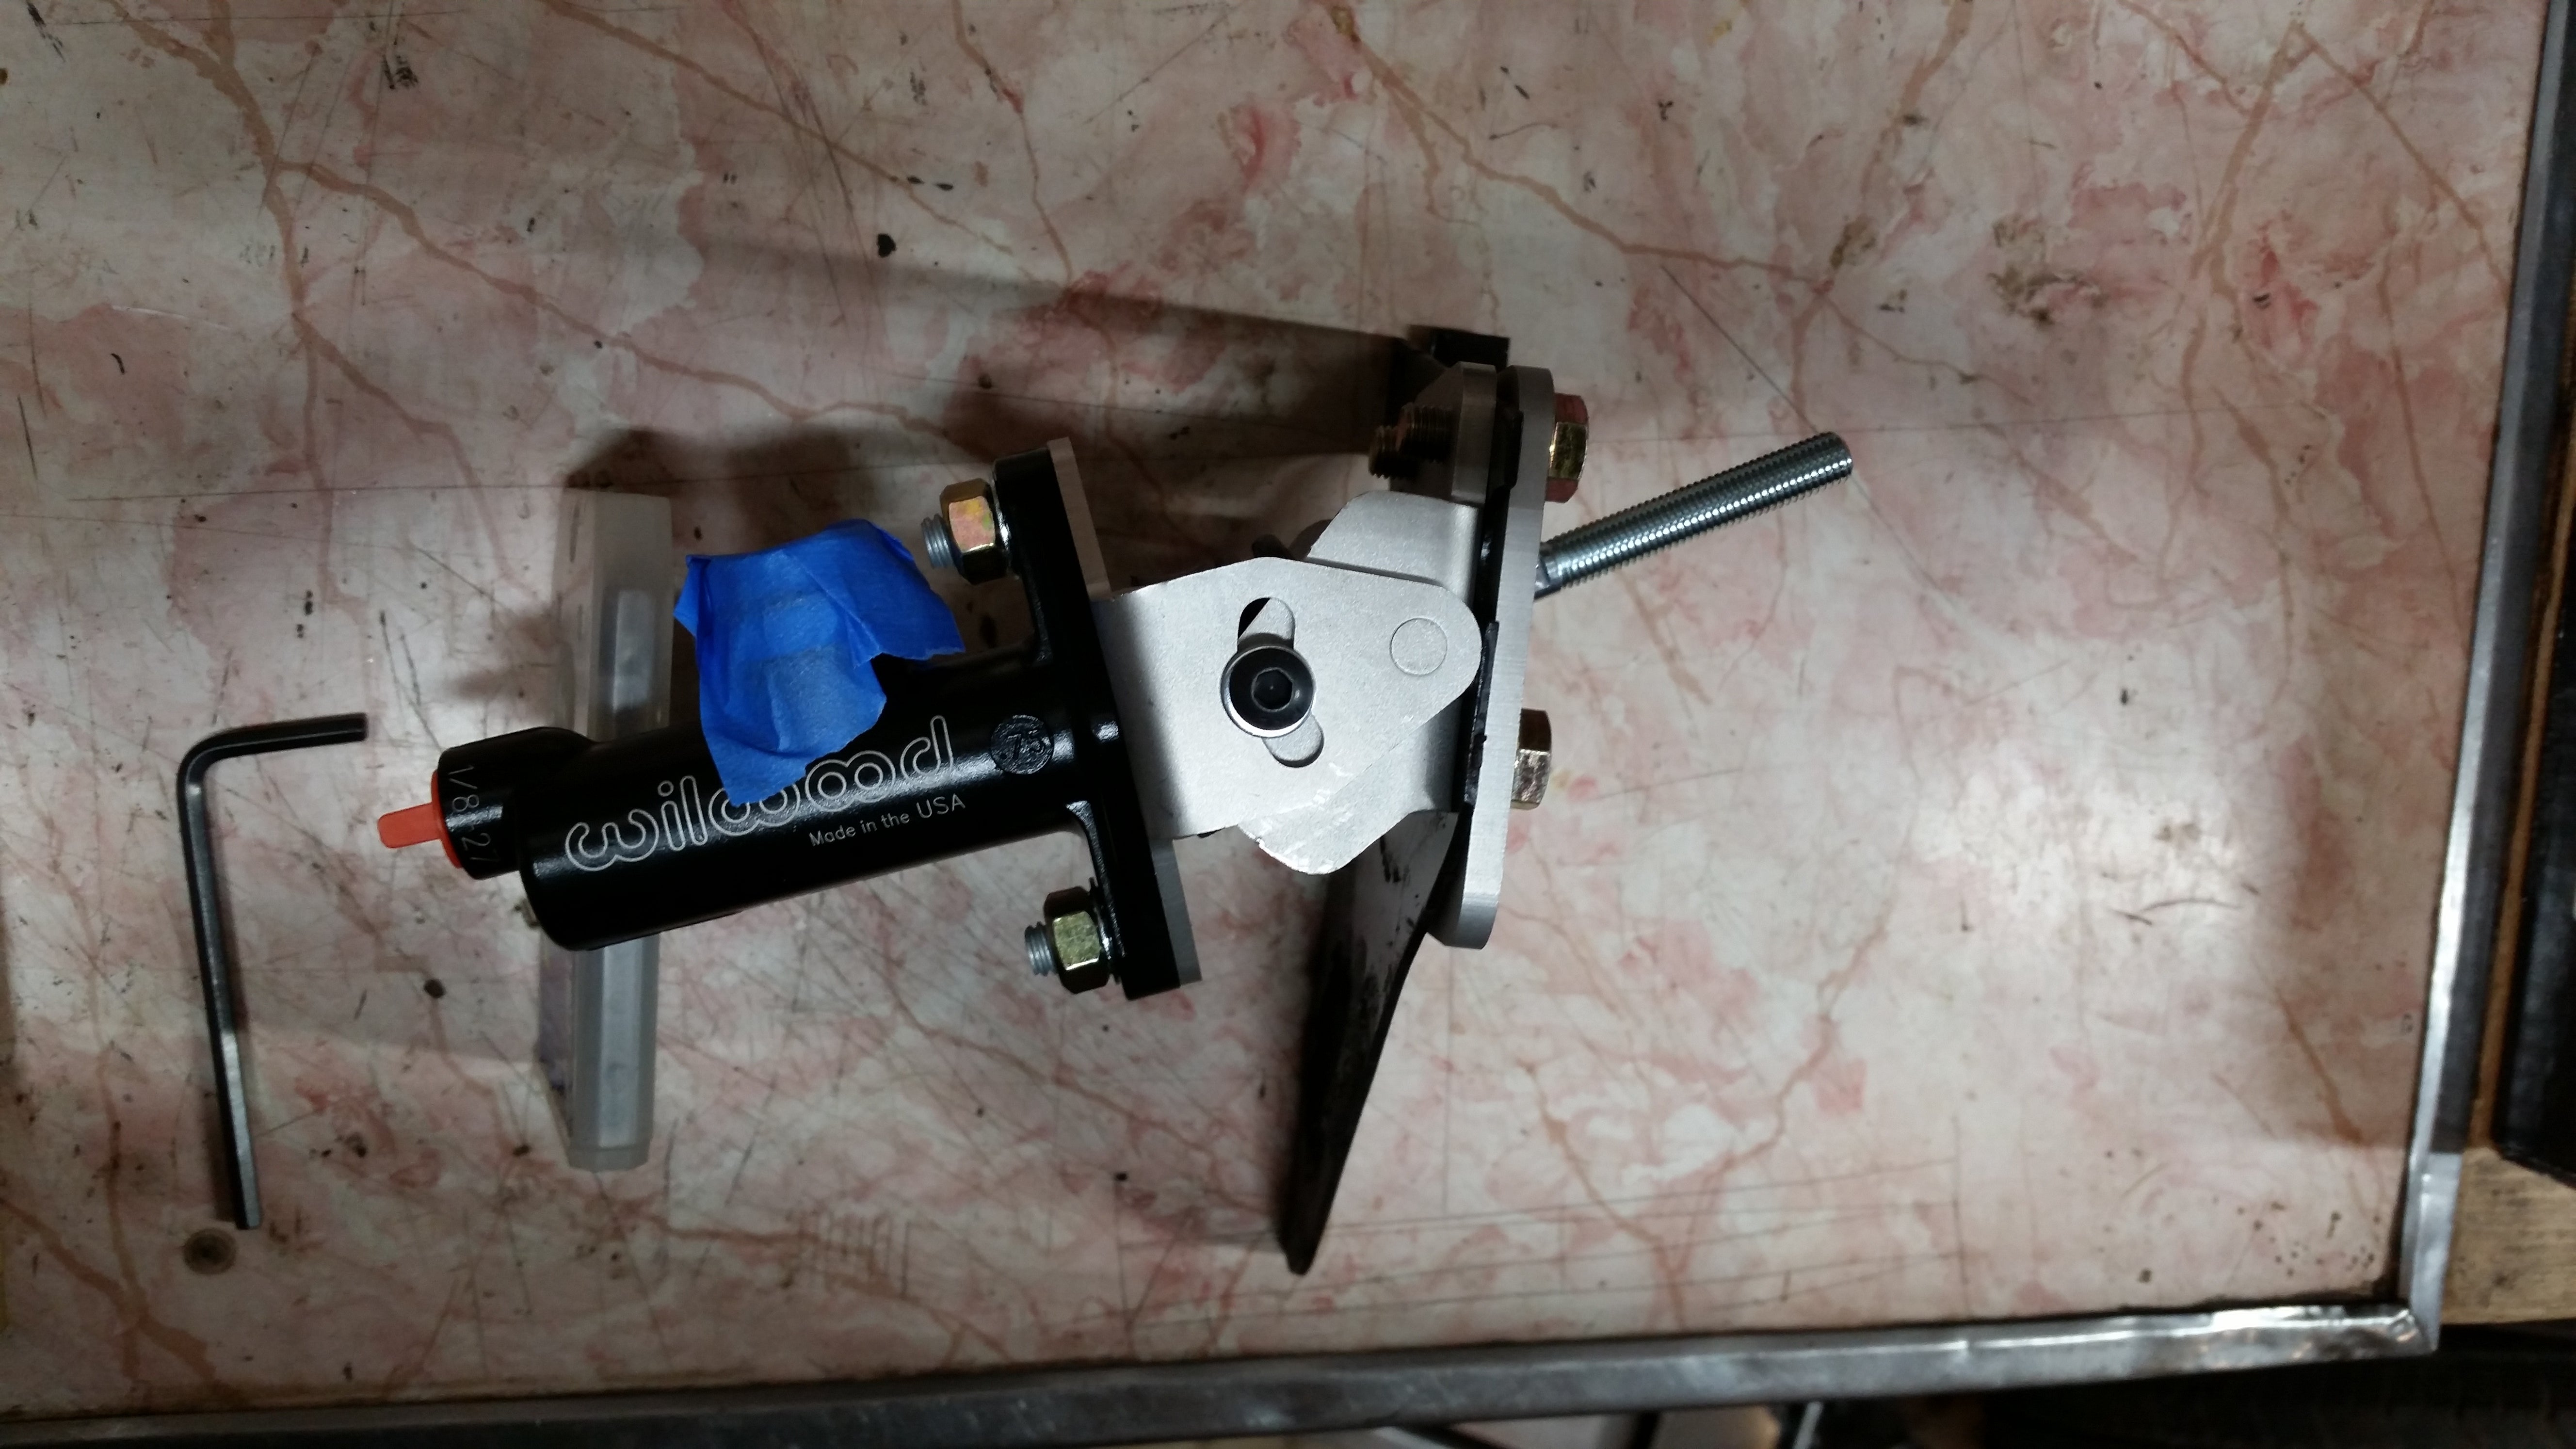
In case you were wondering what this assembly actually looks like
This means that, while the hole is the just-right size, it needs to be oblong to account for the angle of this rod, which wonít be determined until itís connected to the pedal and the bracket is on the firewall.
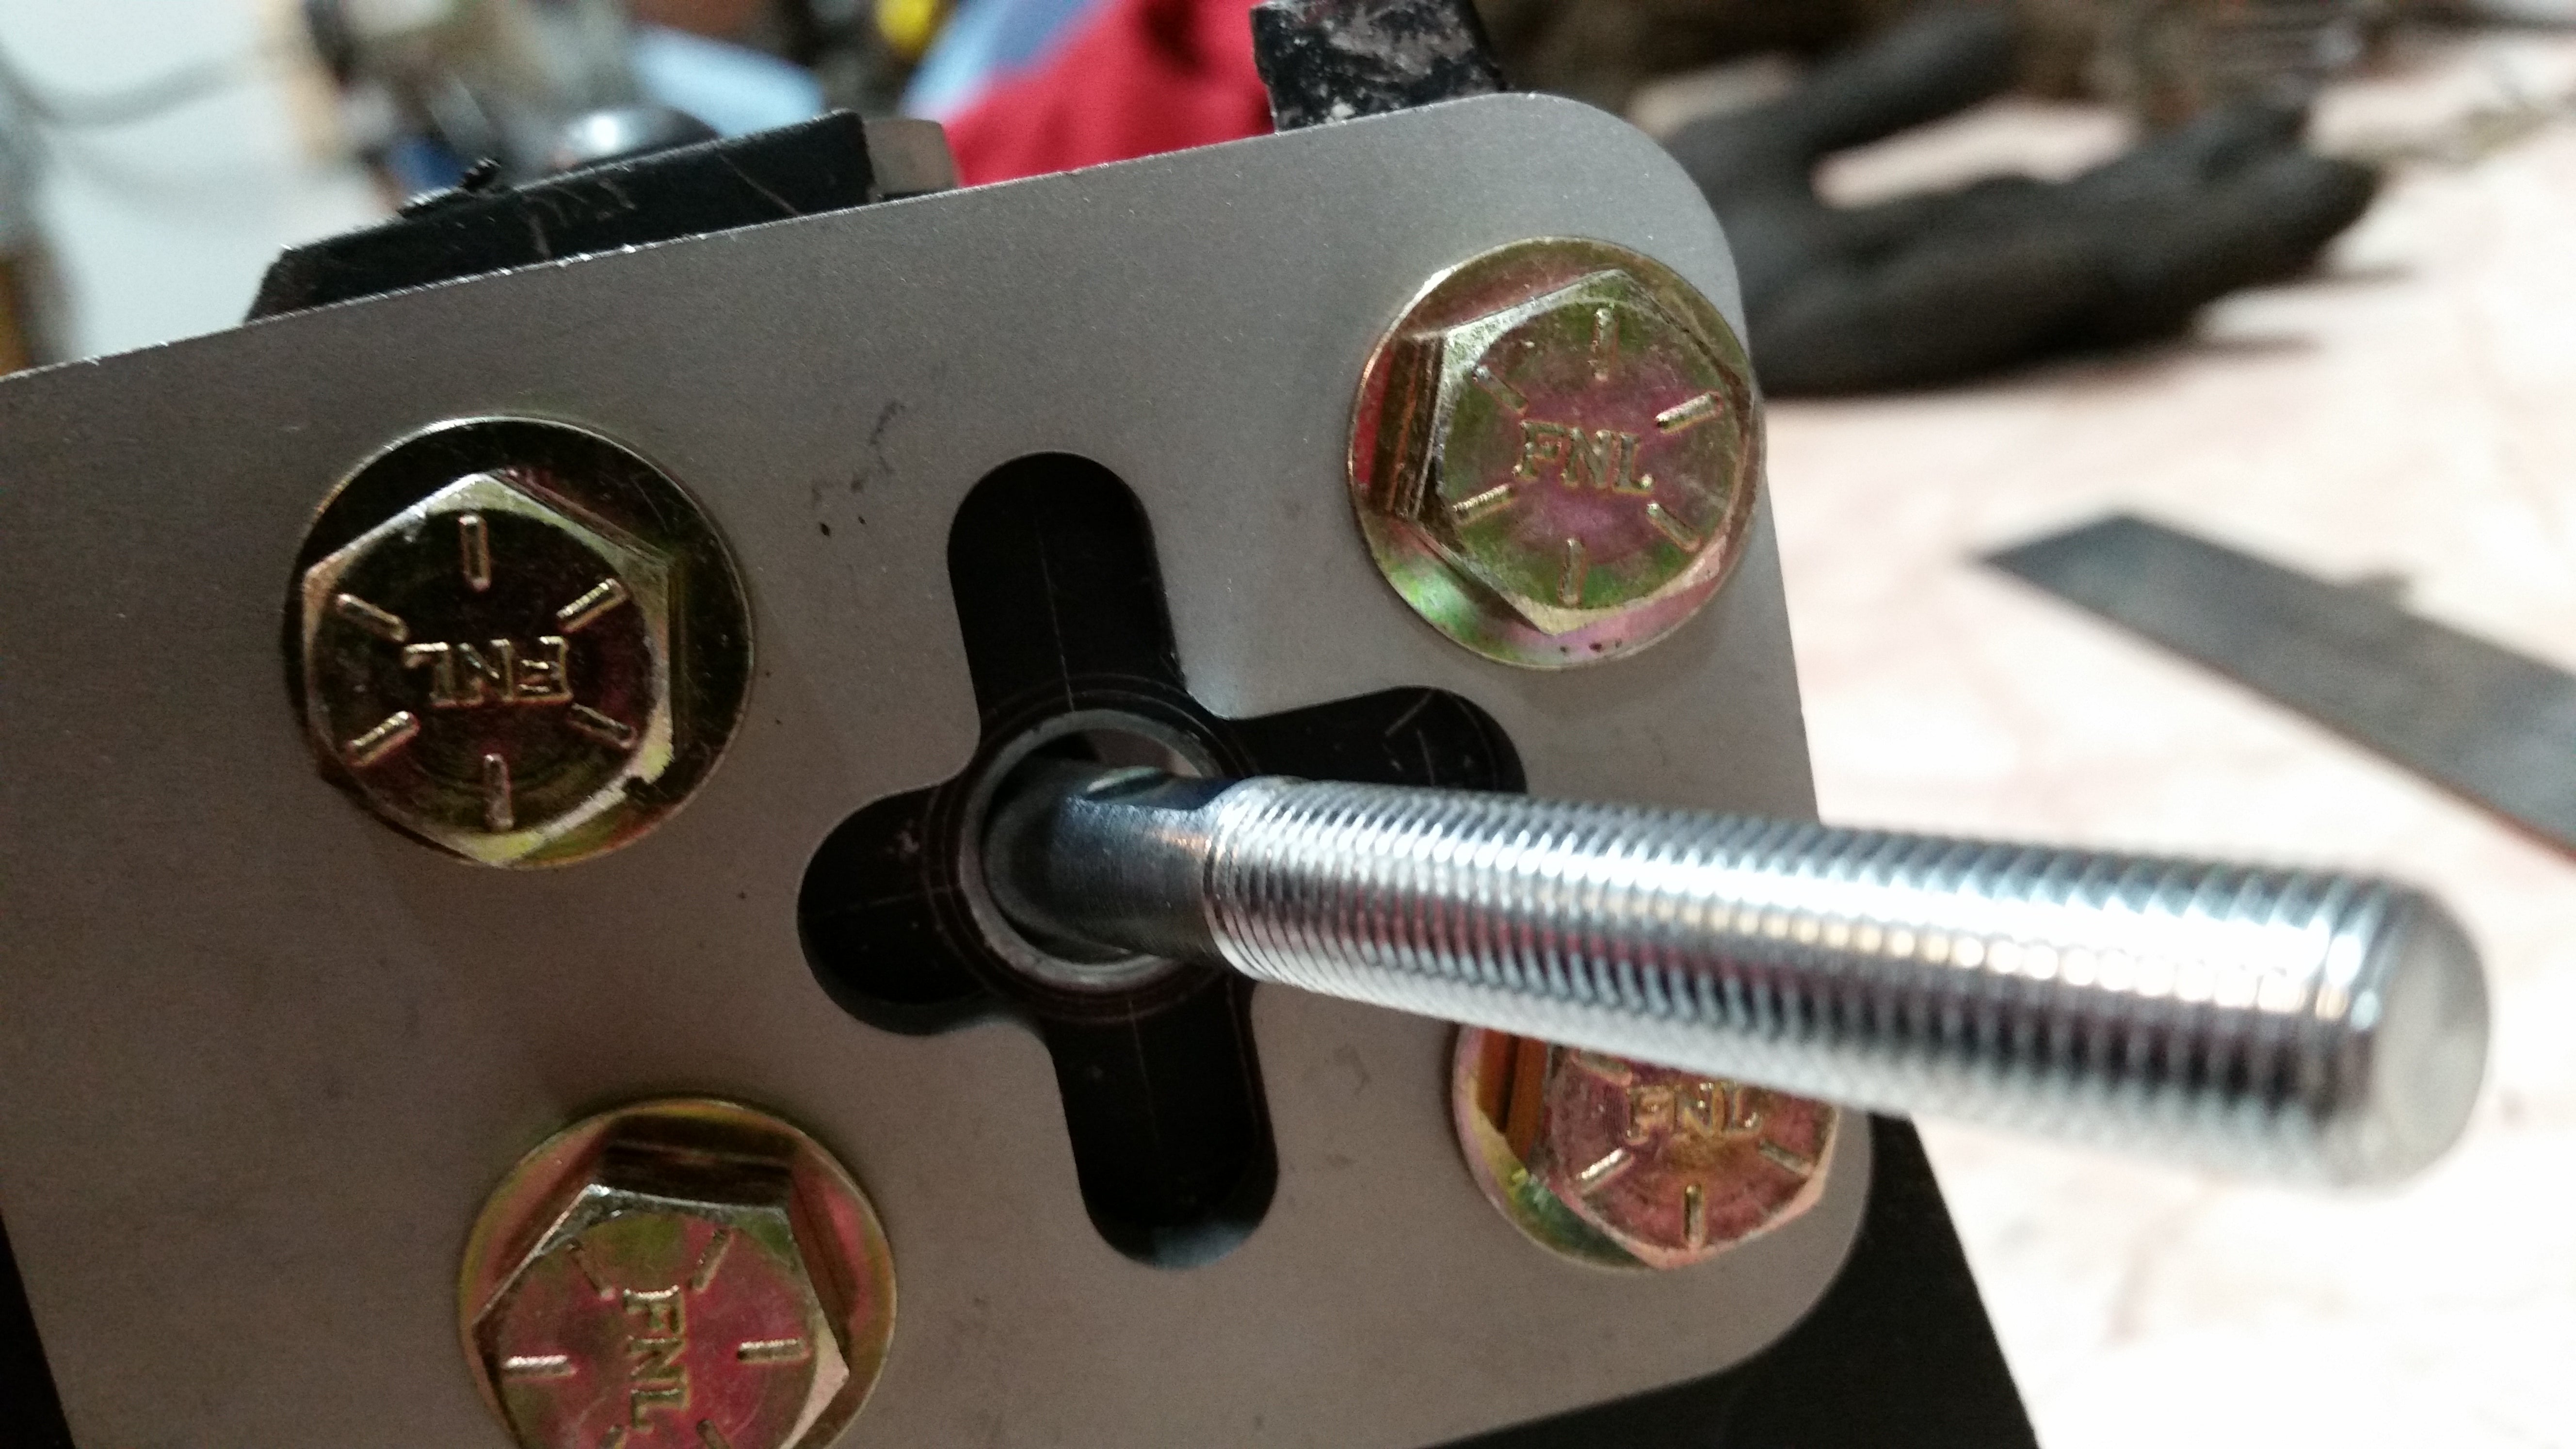
This is actually a decent picture. Thanks, phone!
Some quick work with a round file and the deburring tool made for a nice embiggened hole.
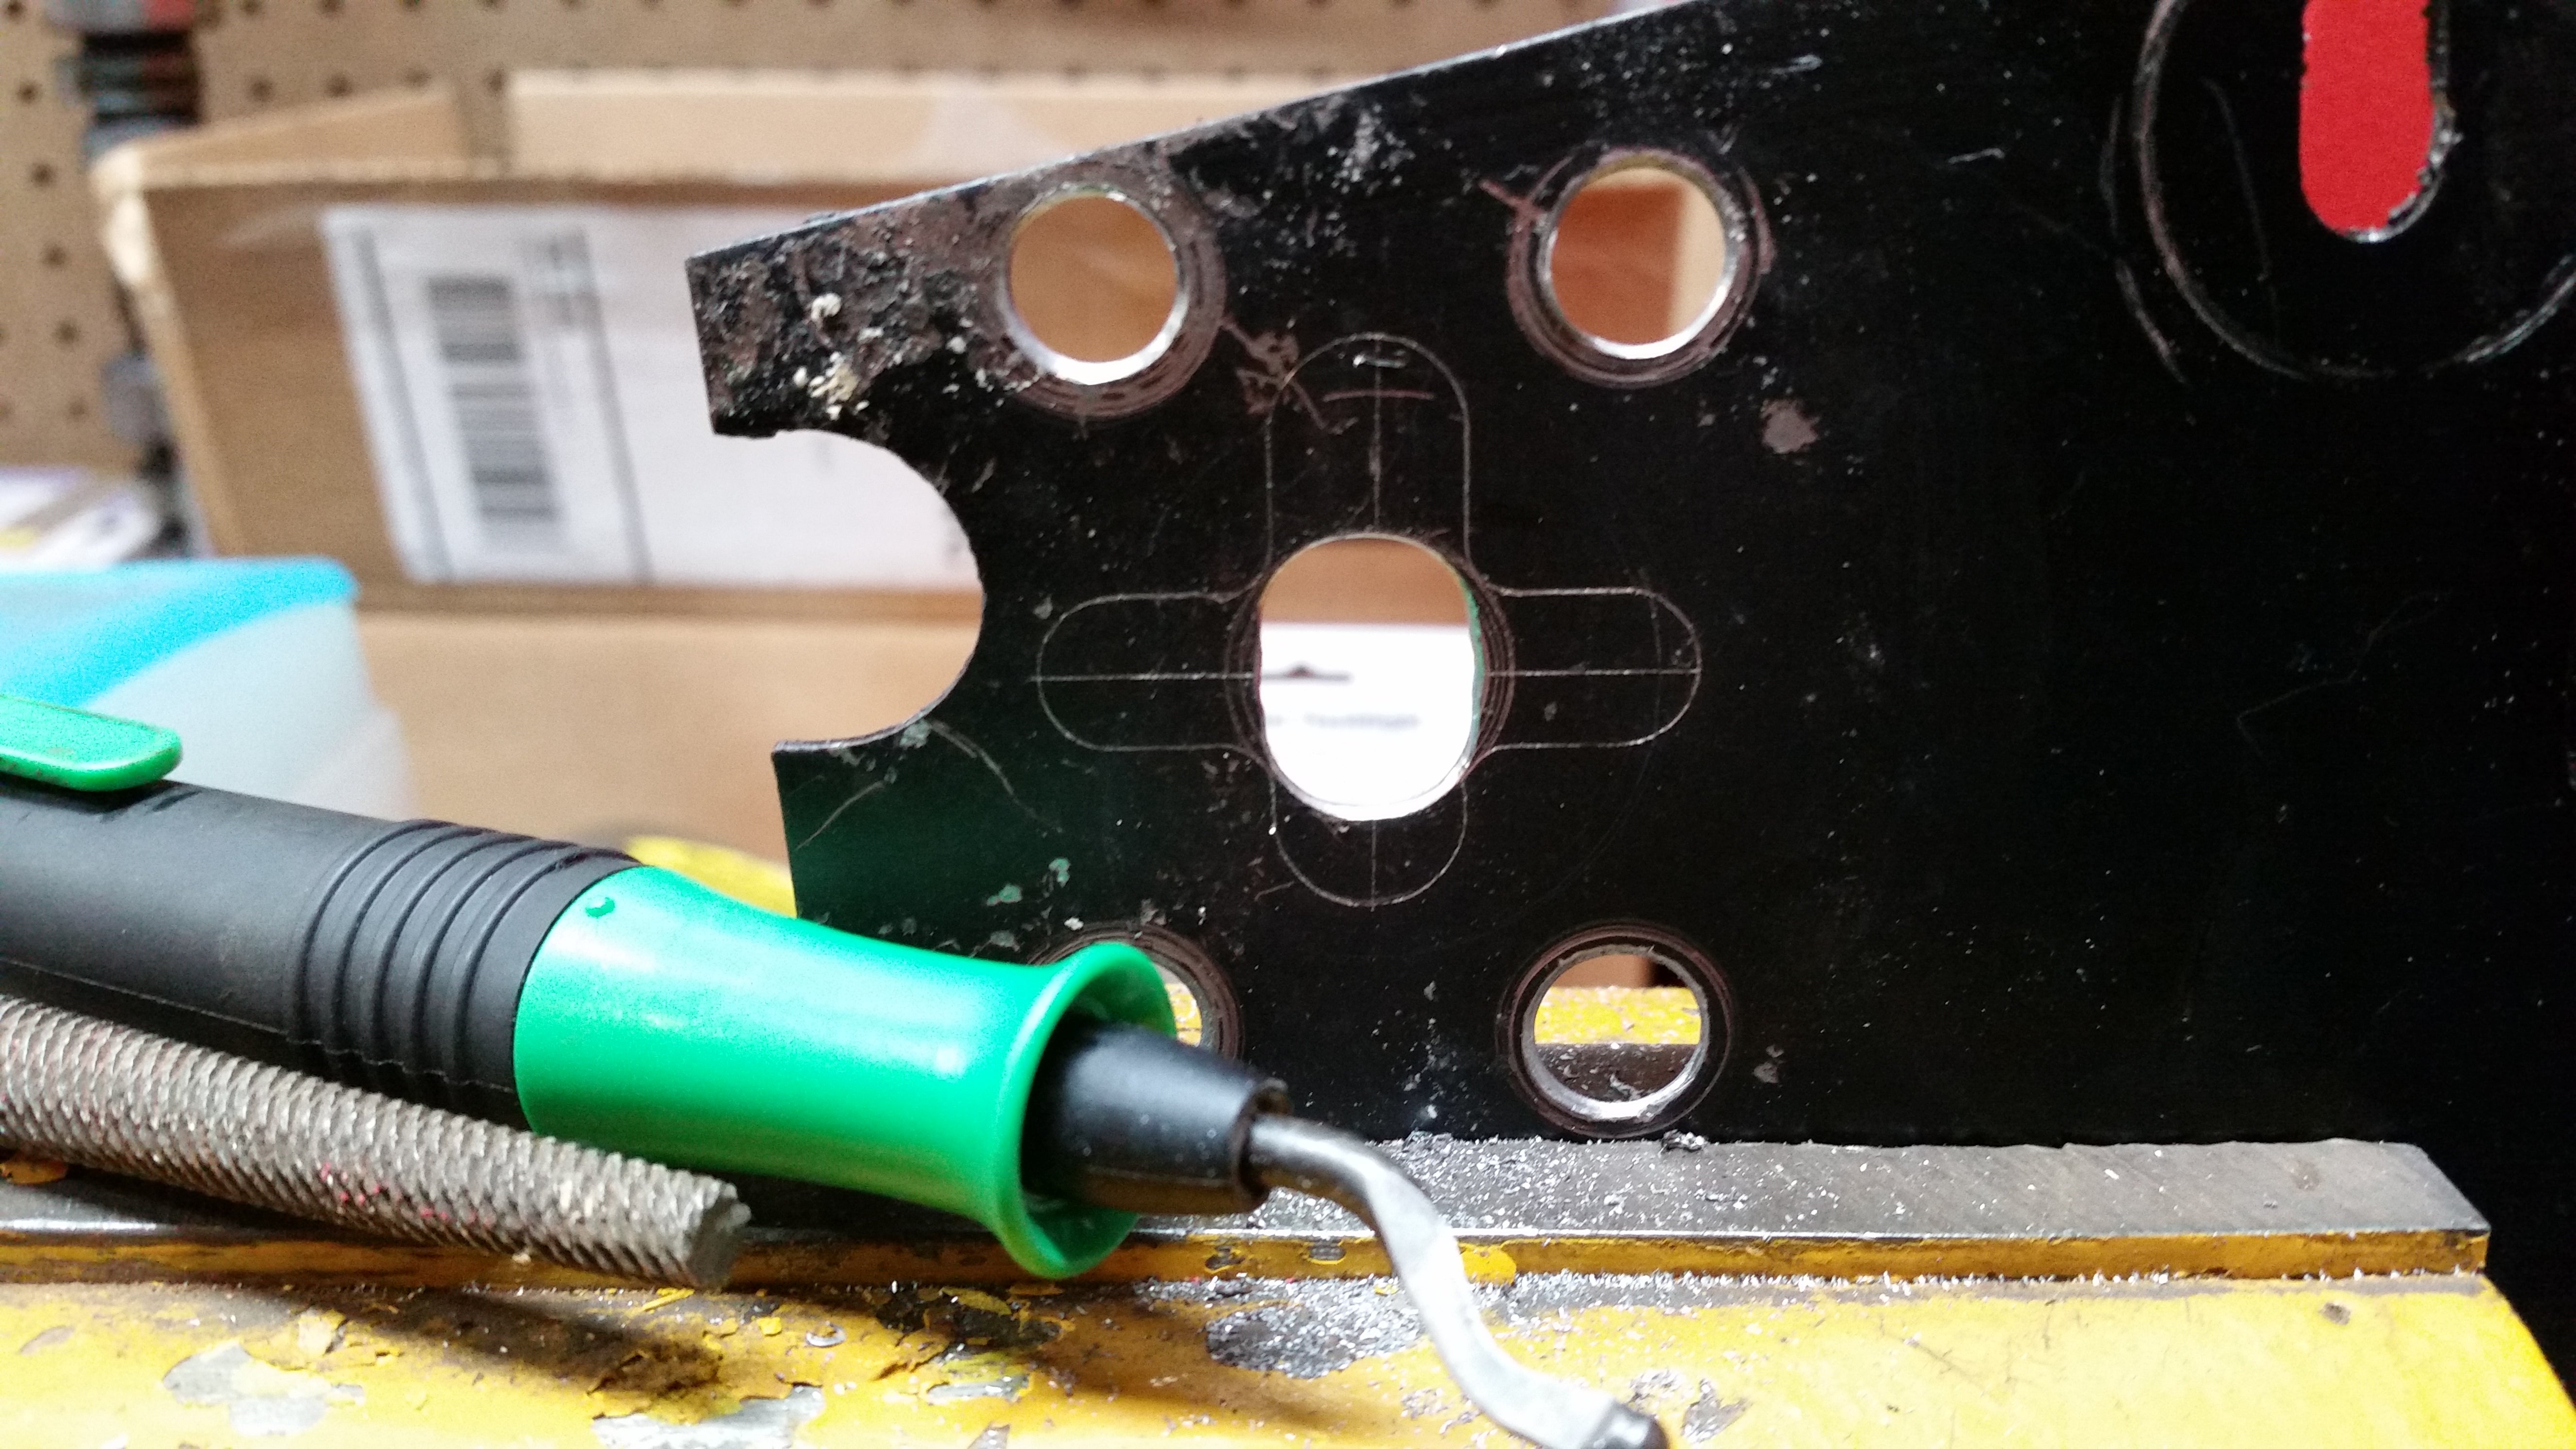
I was surprised how well this came out
This allows the rod to pass through at an angle without hitting the sides of the hole.
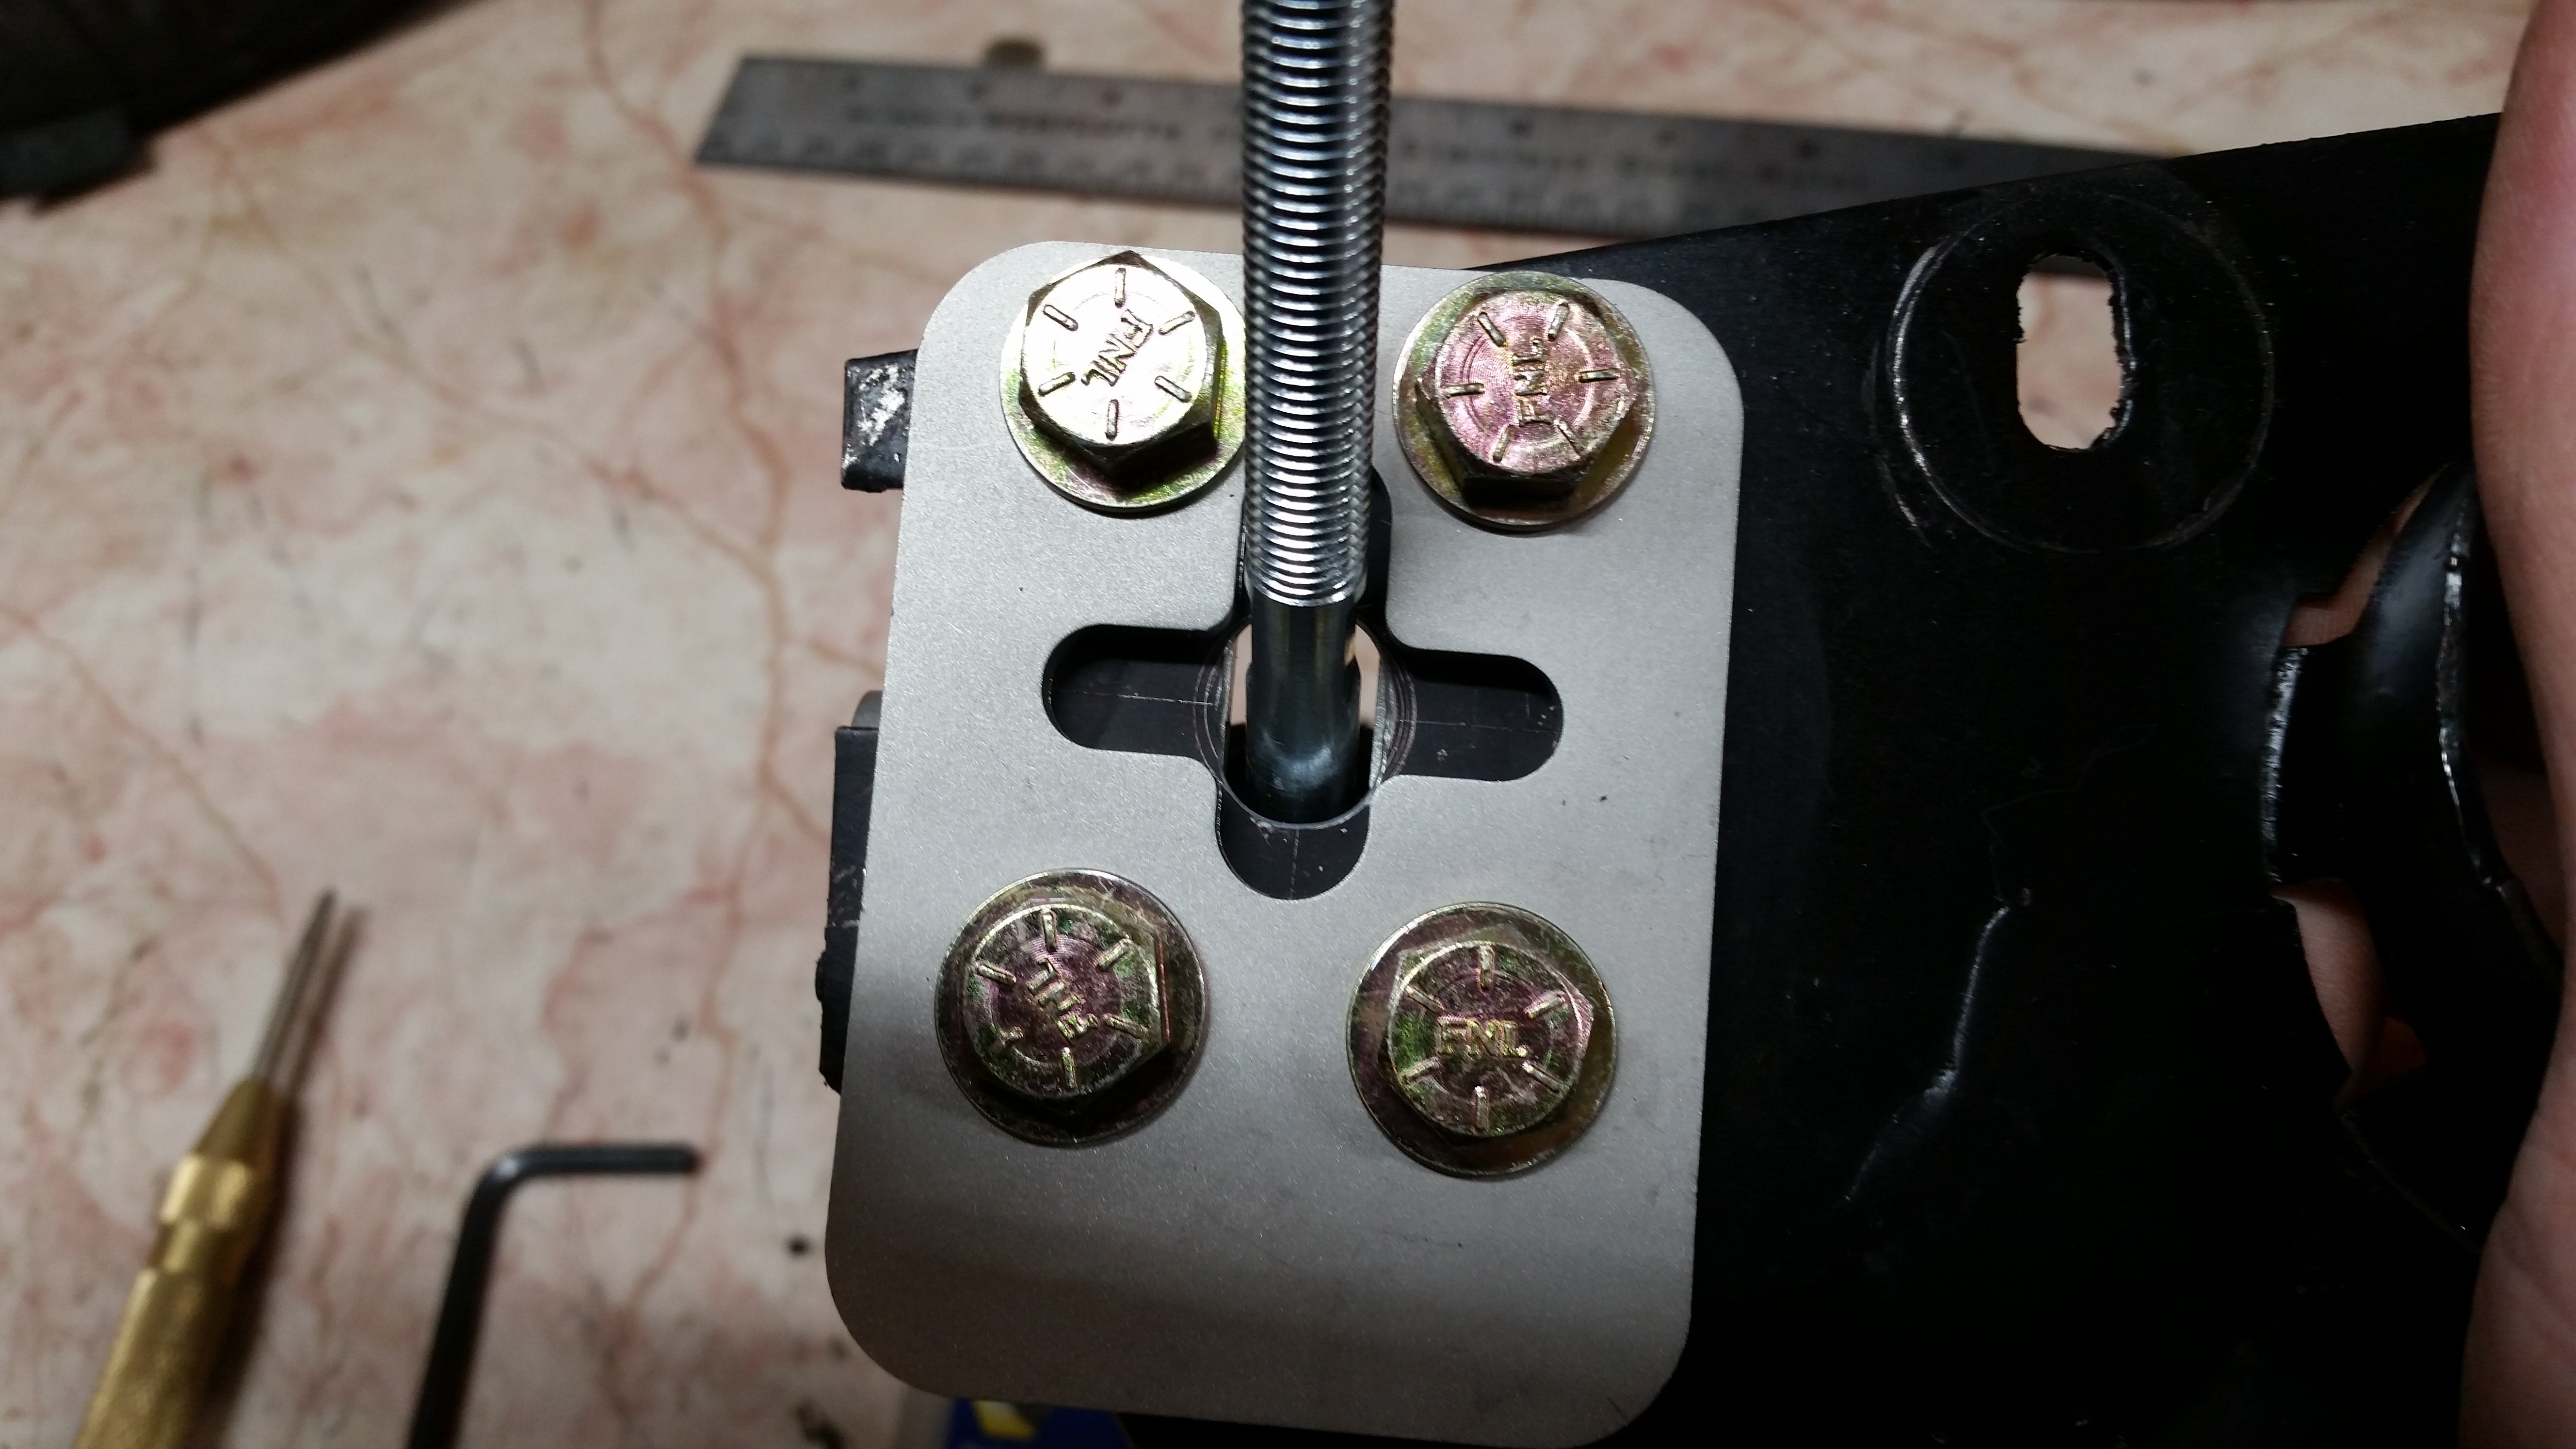
Plenty of space!
That means itís ready to install, right? Nope, thereís more.
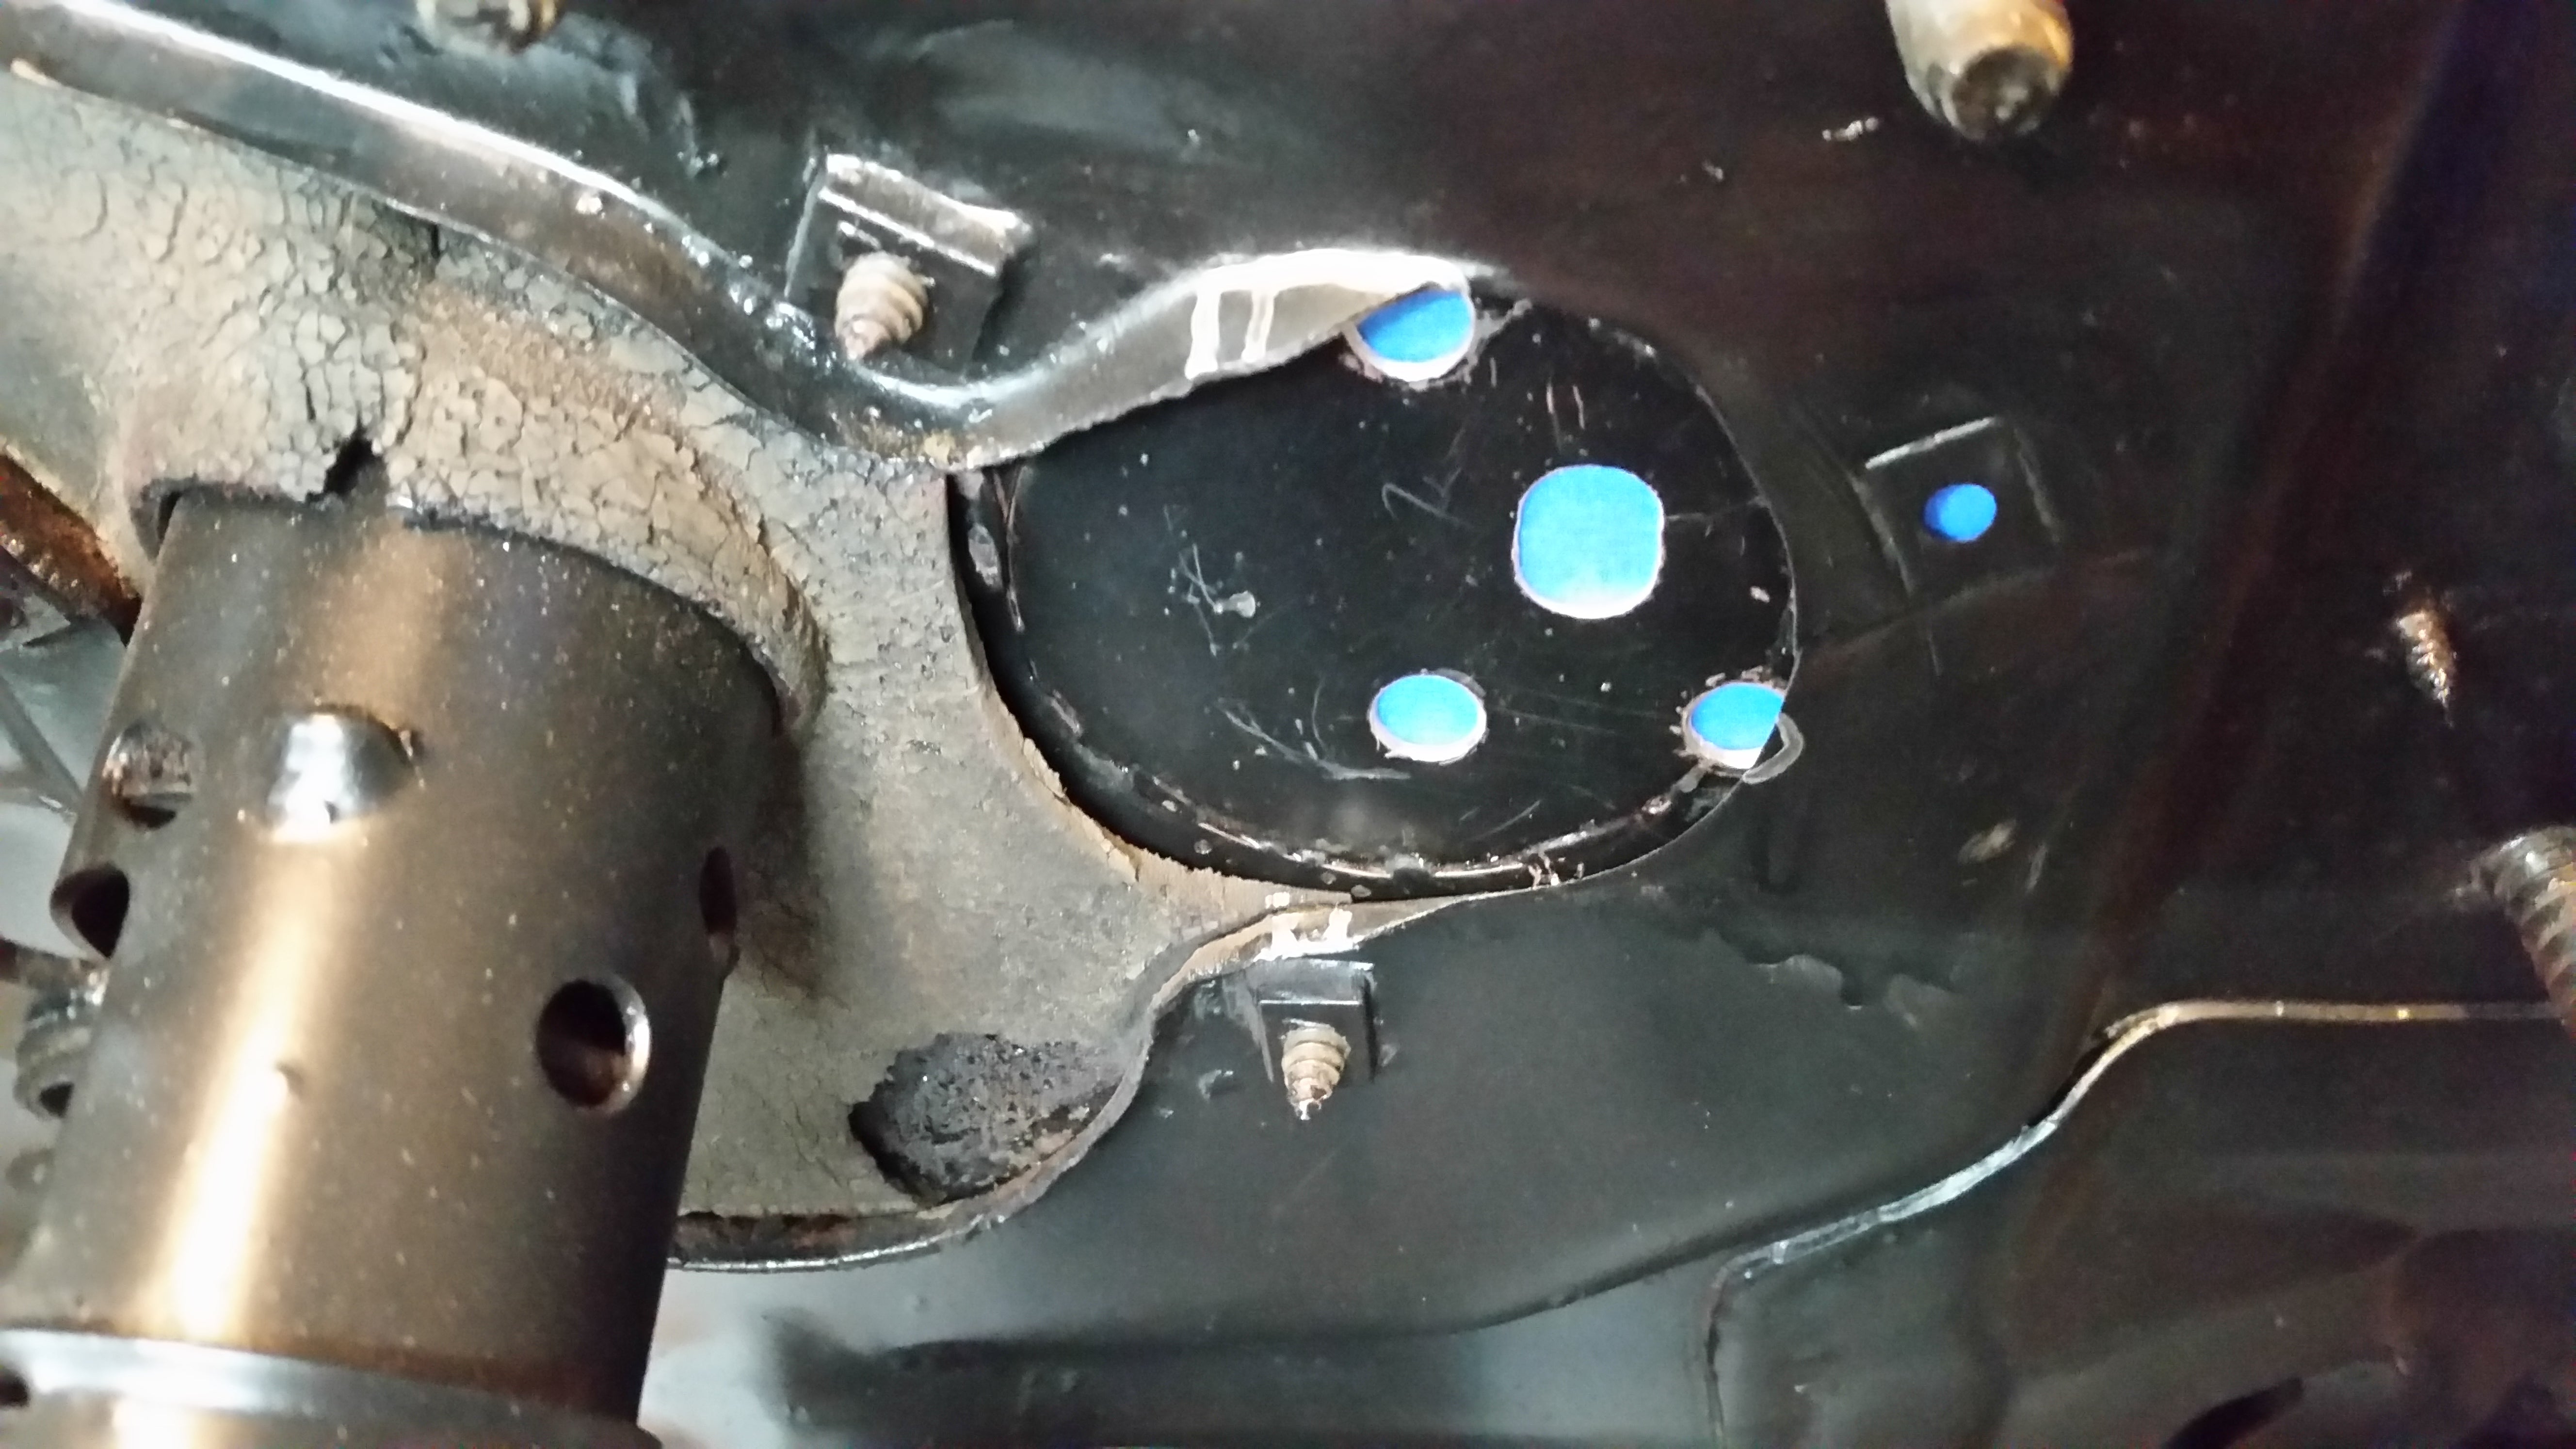
Tape in place to prevent debris from entering the interior in the next step
Not only does the firewall need these holes made, but part of the flange on this area needs ground off. I had removed what I thought was enough a while back, but ended up having to take even more off. This isnít a problem, just make a bit of a mess on the freshly painted firewall.
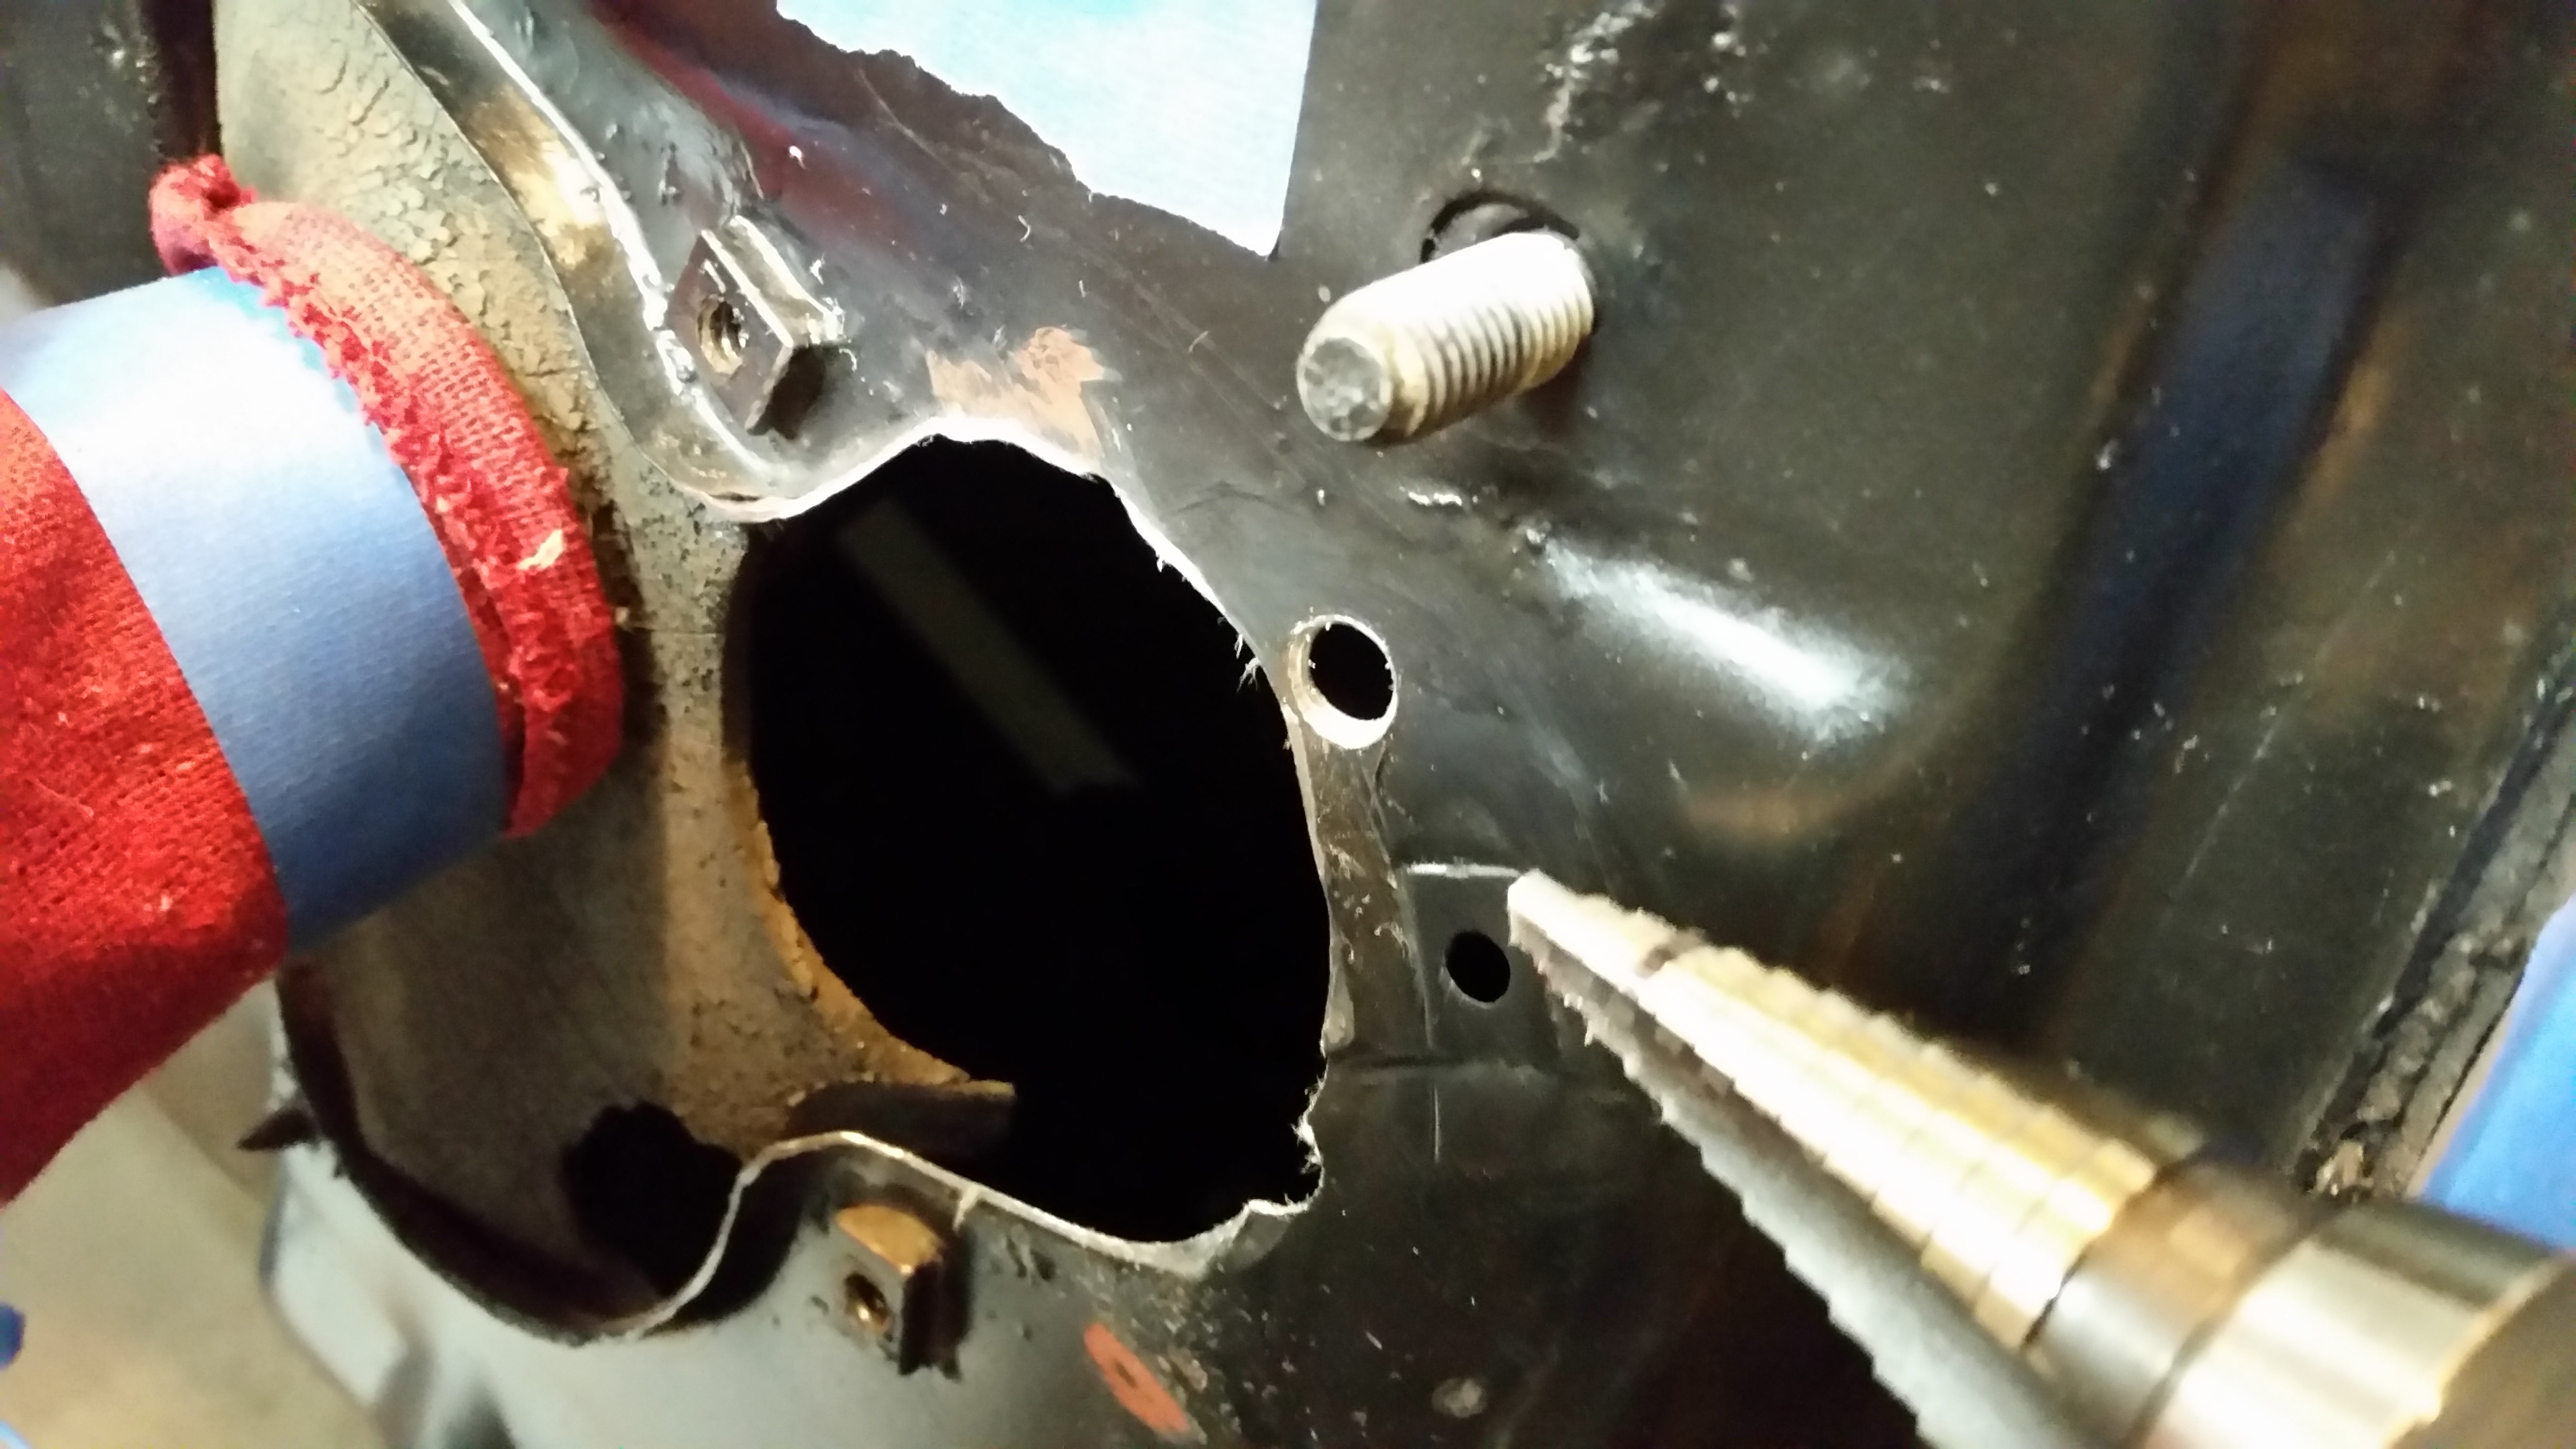
Die grinder with a 60 grit disk made quick work of the flange, the round file made the requisite notches, and the step drill handled the hole with ease.
The die grinder, round file, and step drill made short work of this adjustment. As can be seen above, I also did remove a welded nut previously
, which used to hold that plate. I think the new one (holding the MC bracket) will do just fine in its place.
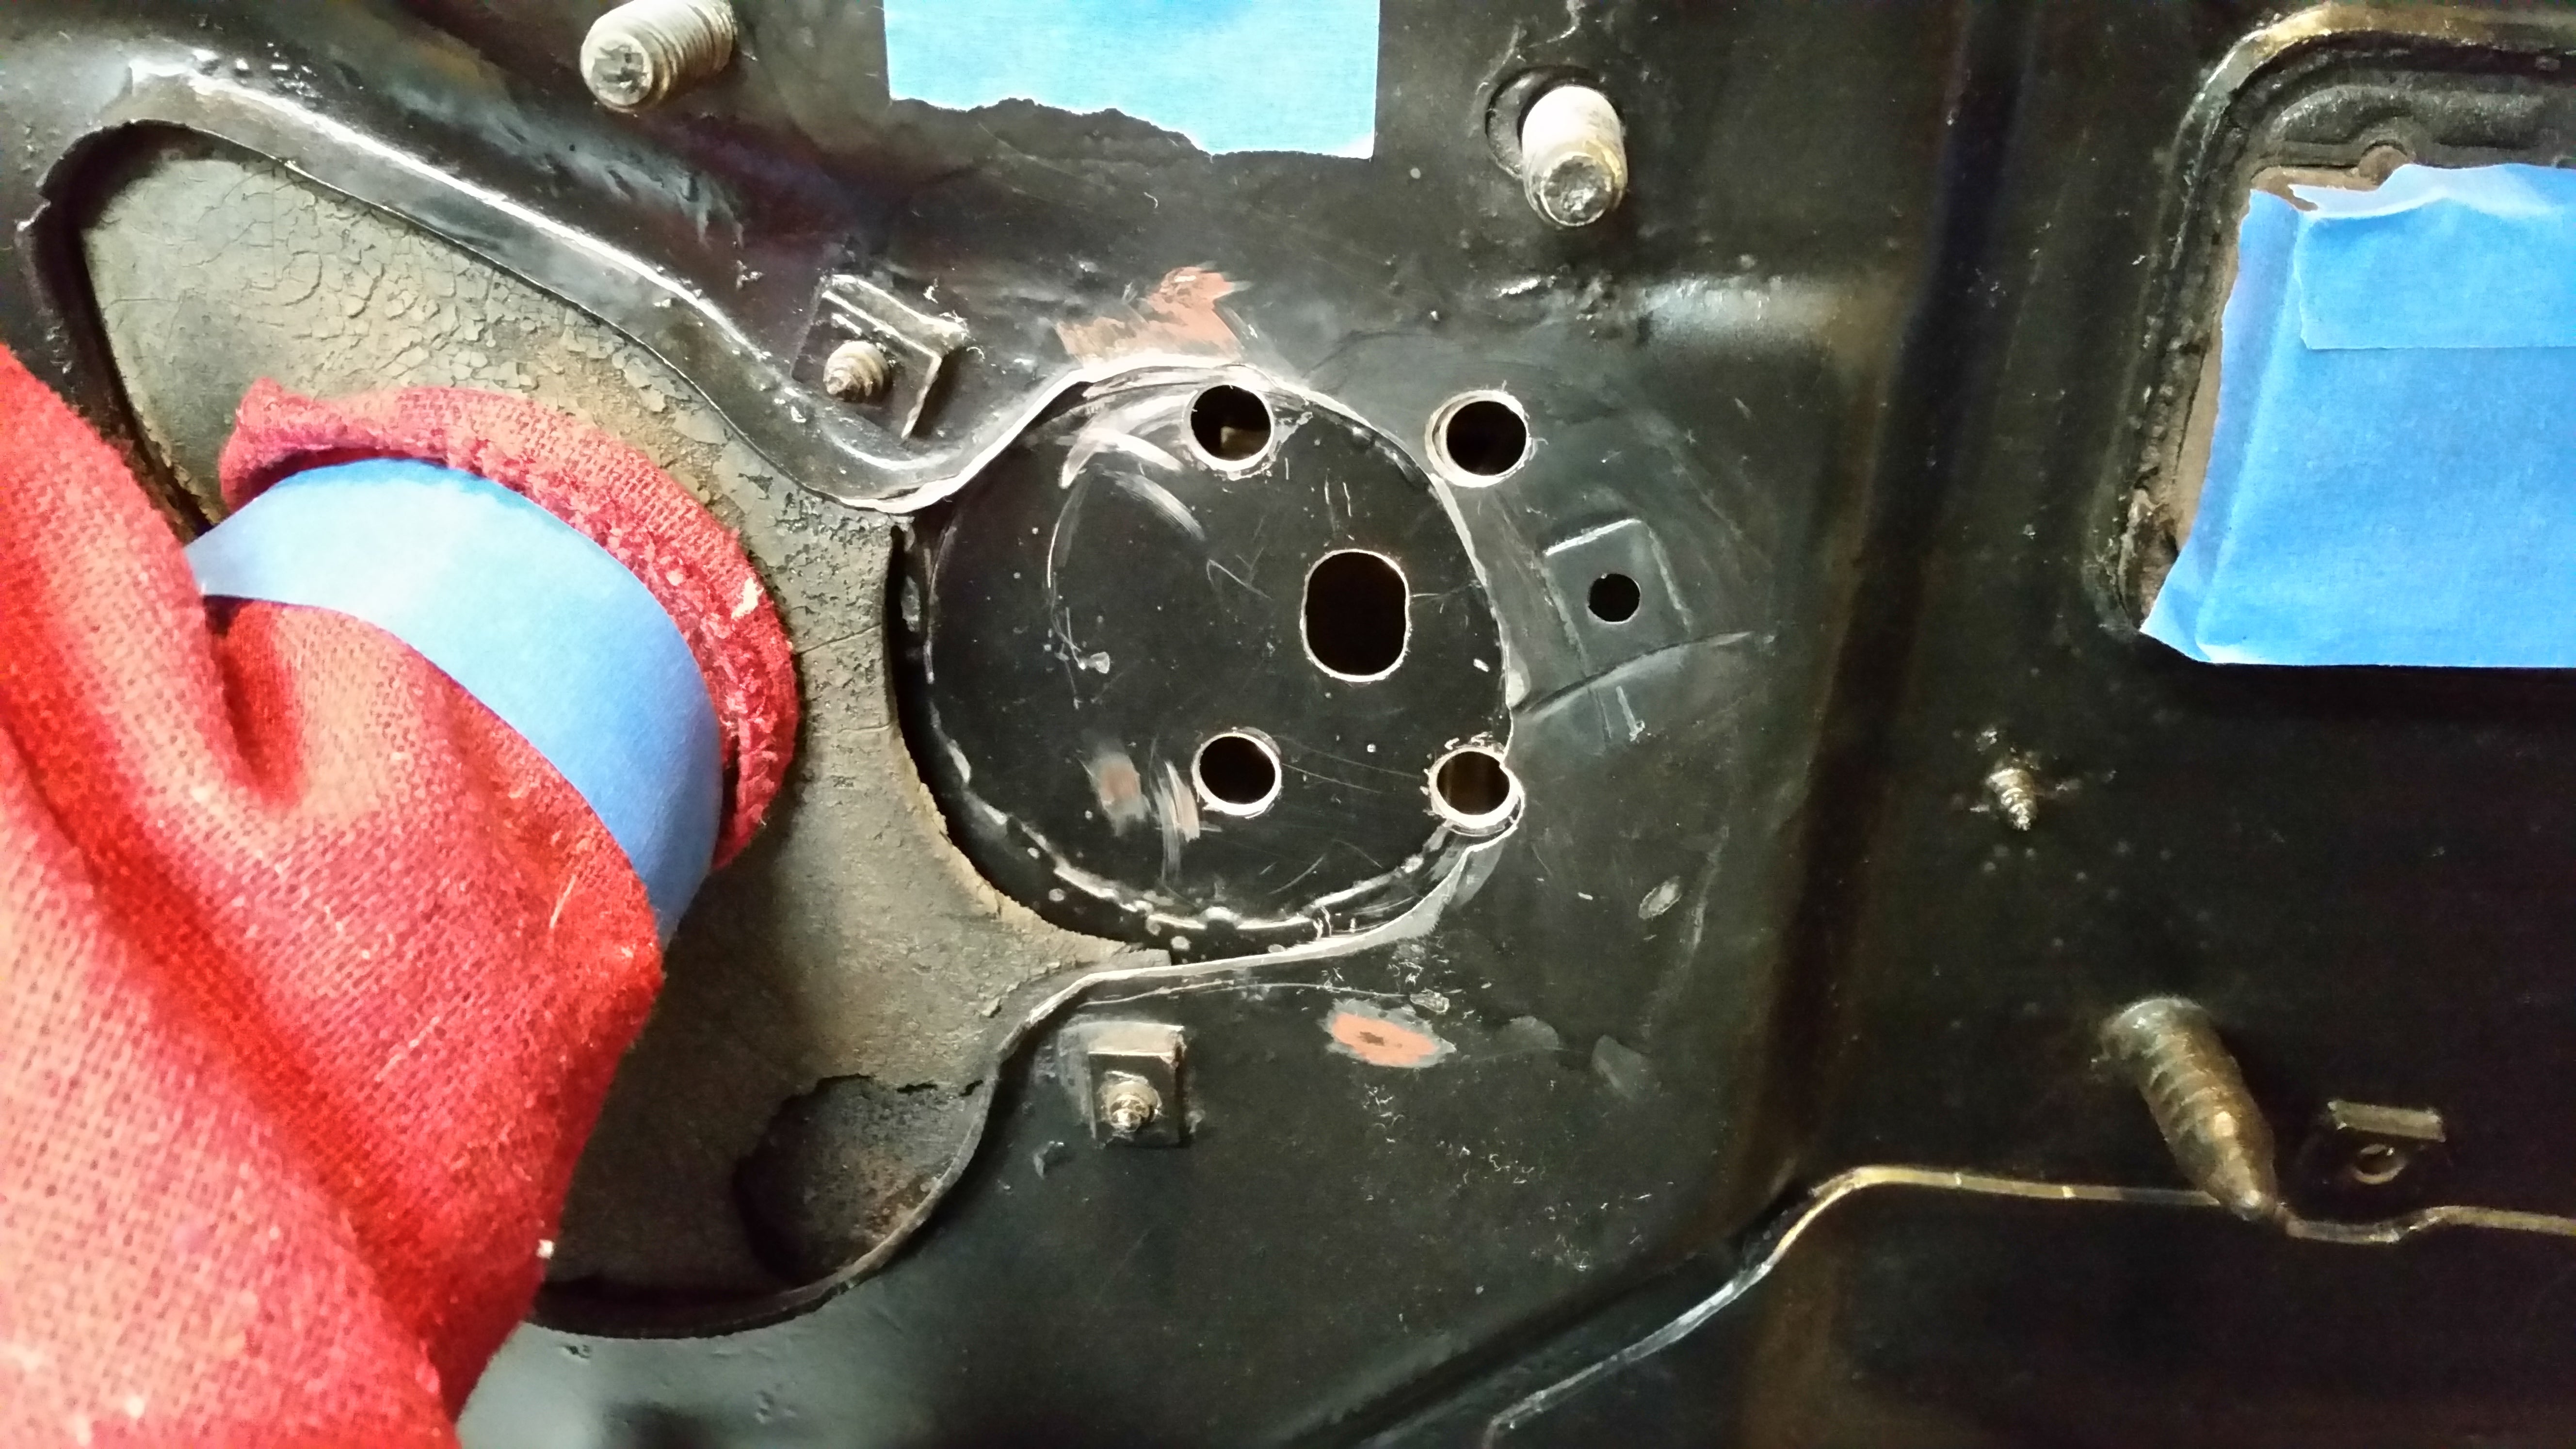
That means itís ready to install, right? Nope, thereís more.
Because this plate partially overlaps the firewall, there is a step between the circle-hole and the face of the firewall. This may not seem like much, but it would be enough to make the master cylinder crooked on the firewall and make, at best, the rod not line up right. We need a shim.
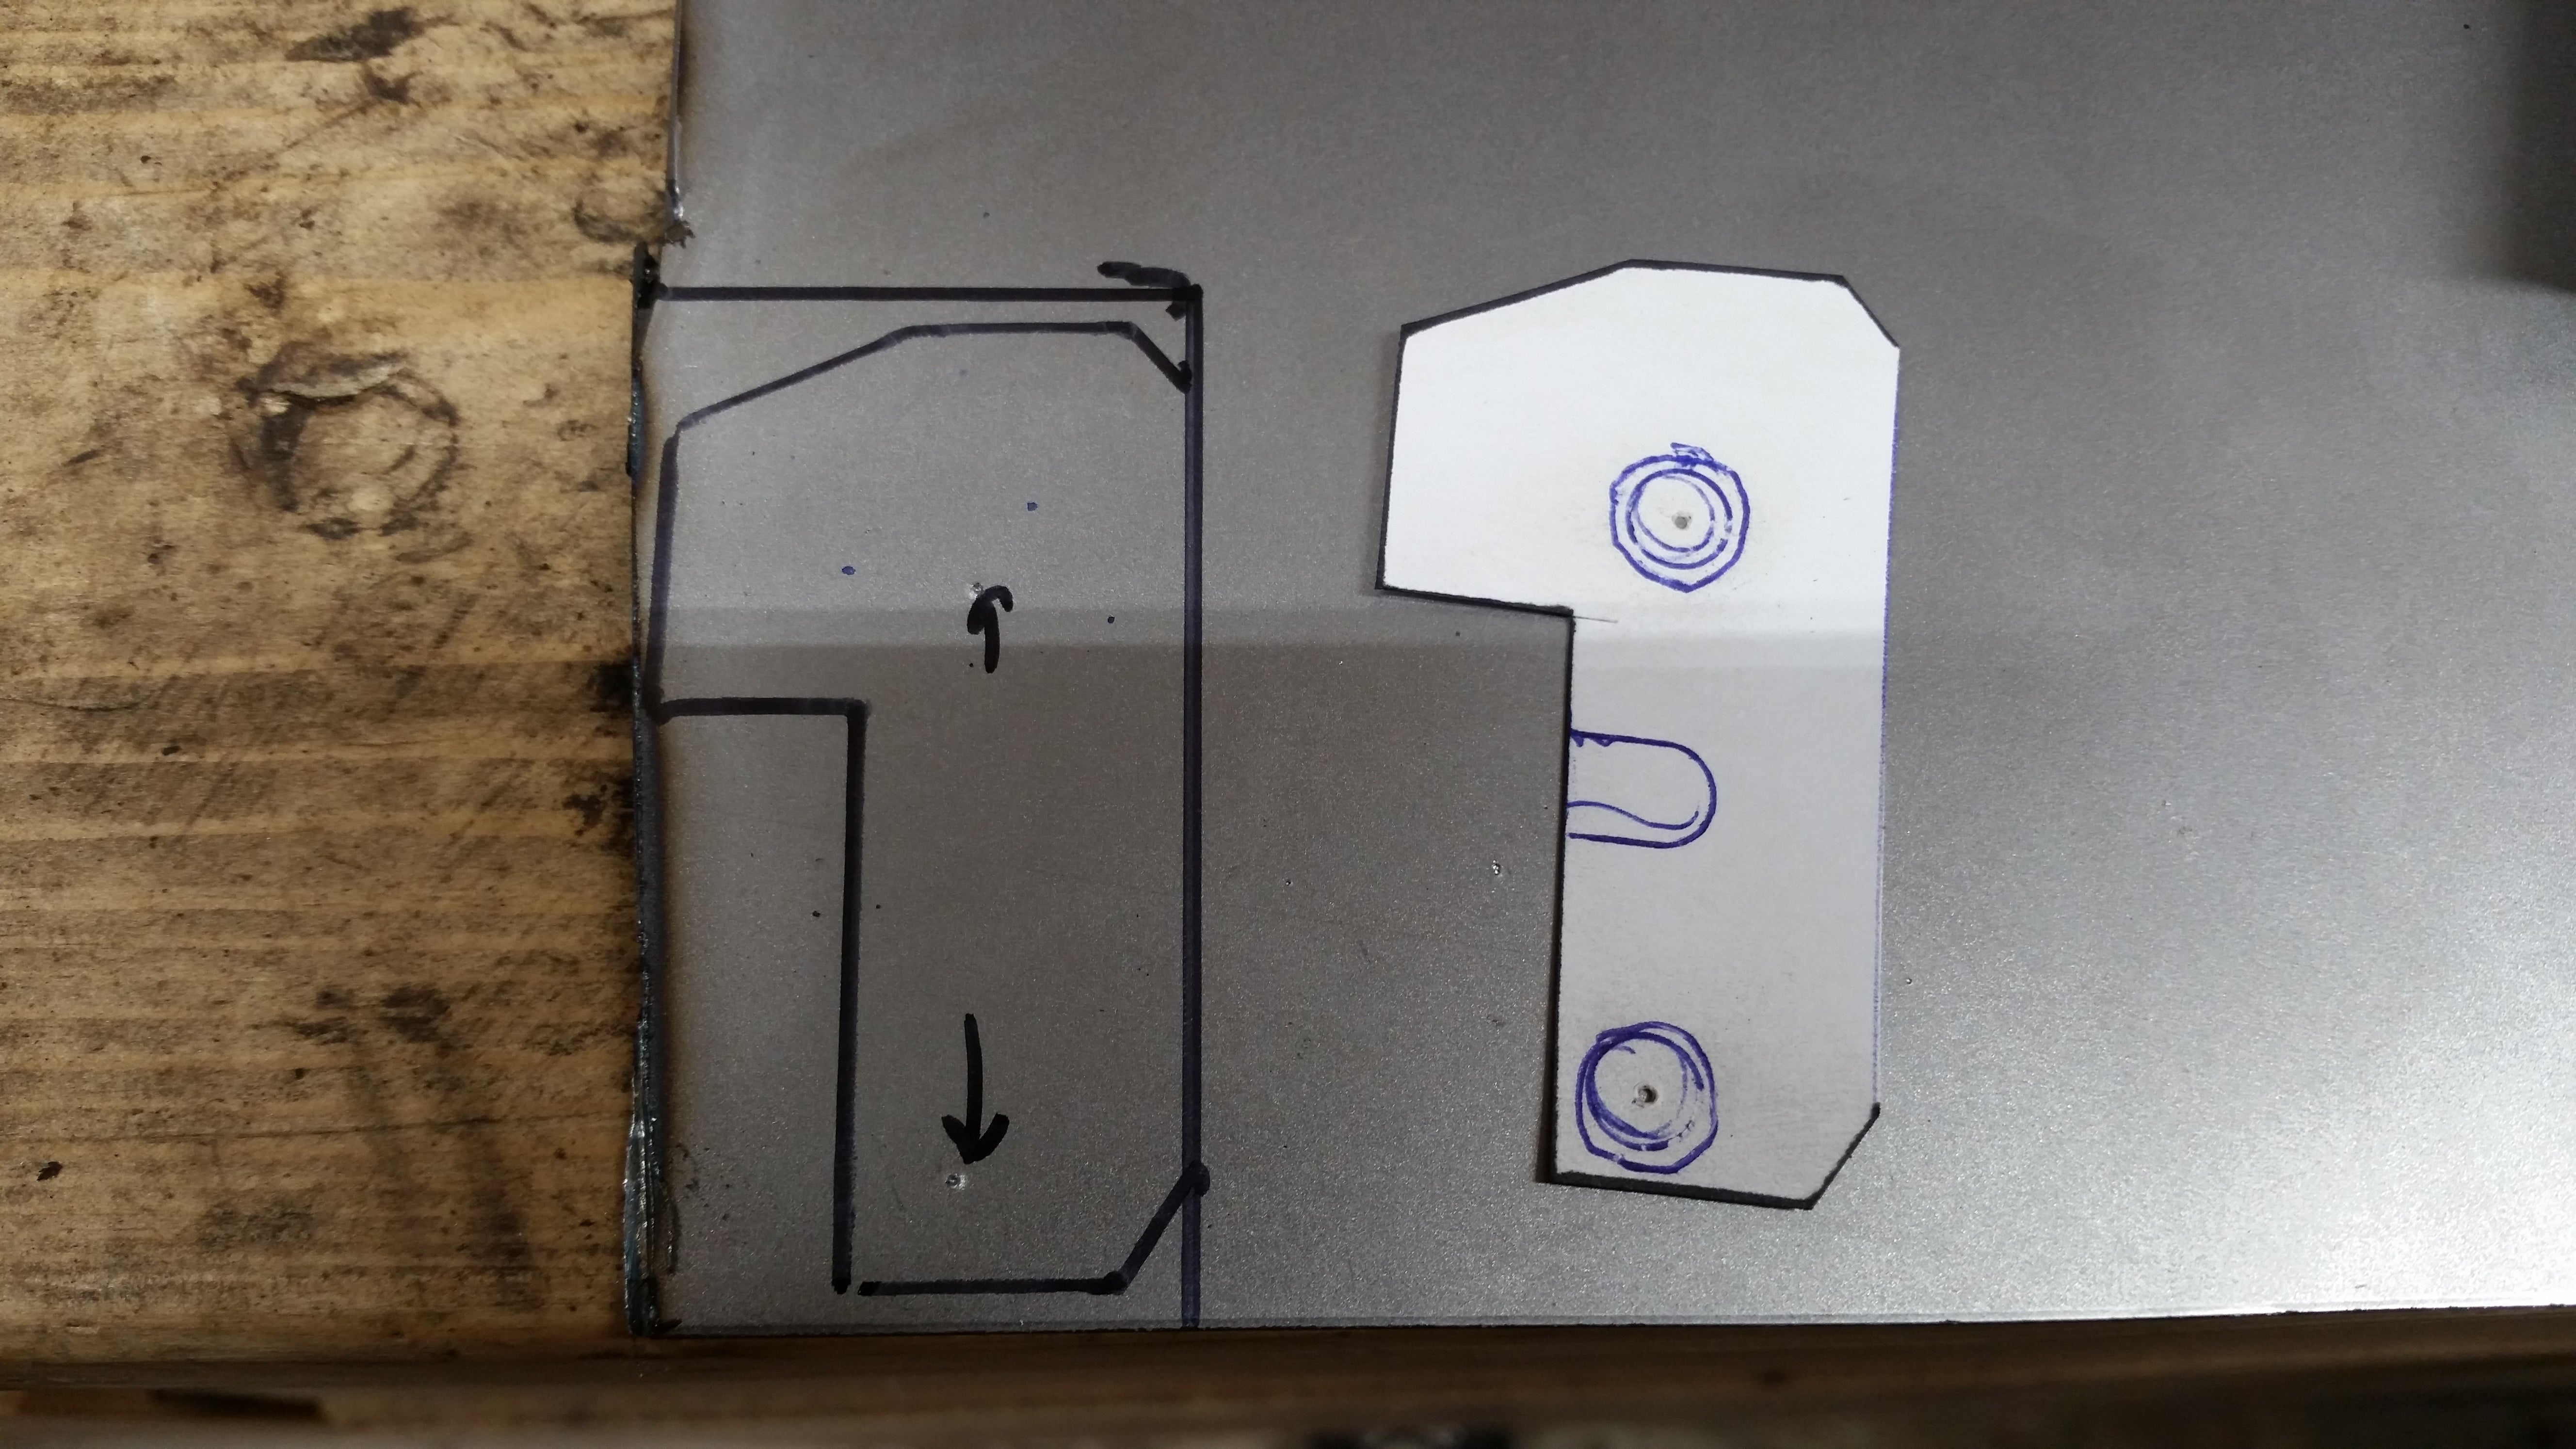 !!!CAPTION ERROR: MAY BE MULTI-LINE OR CONTAIN LINK!!!
Fortunately, the firewall is 16ga and I have 16ga sheet on hand.
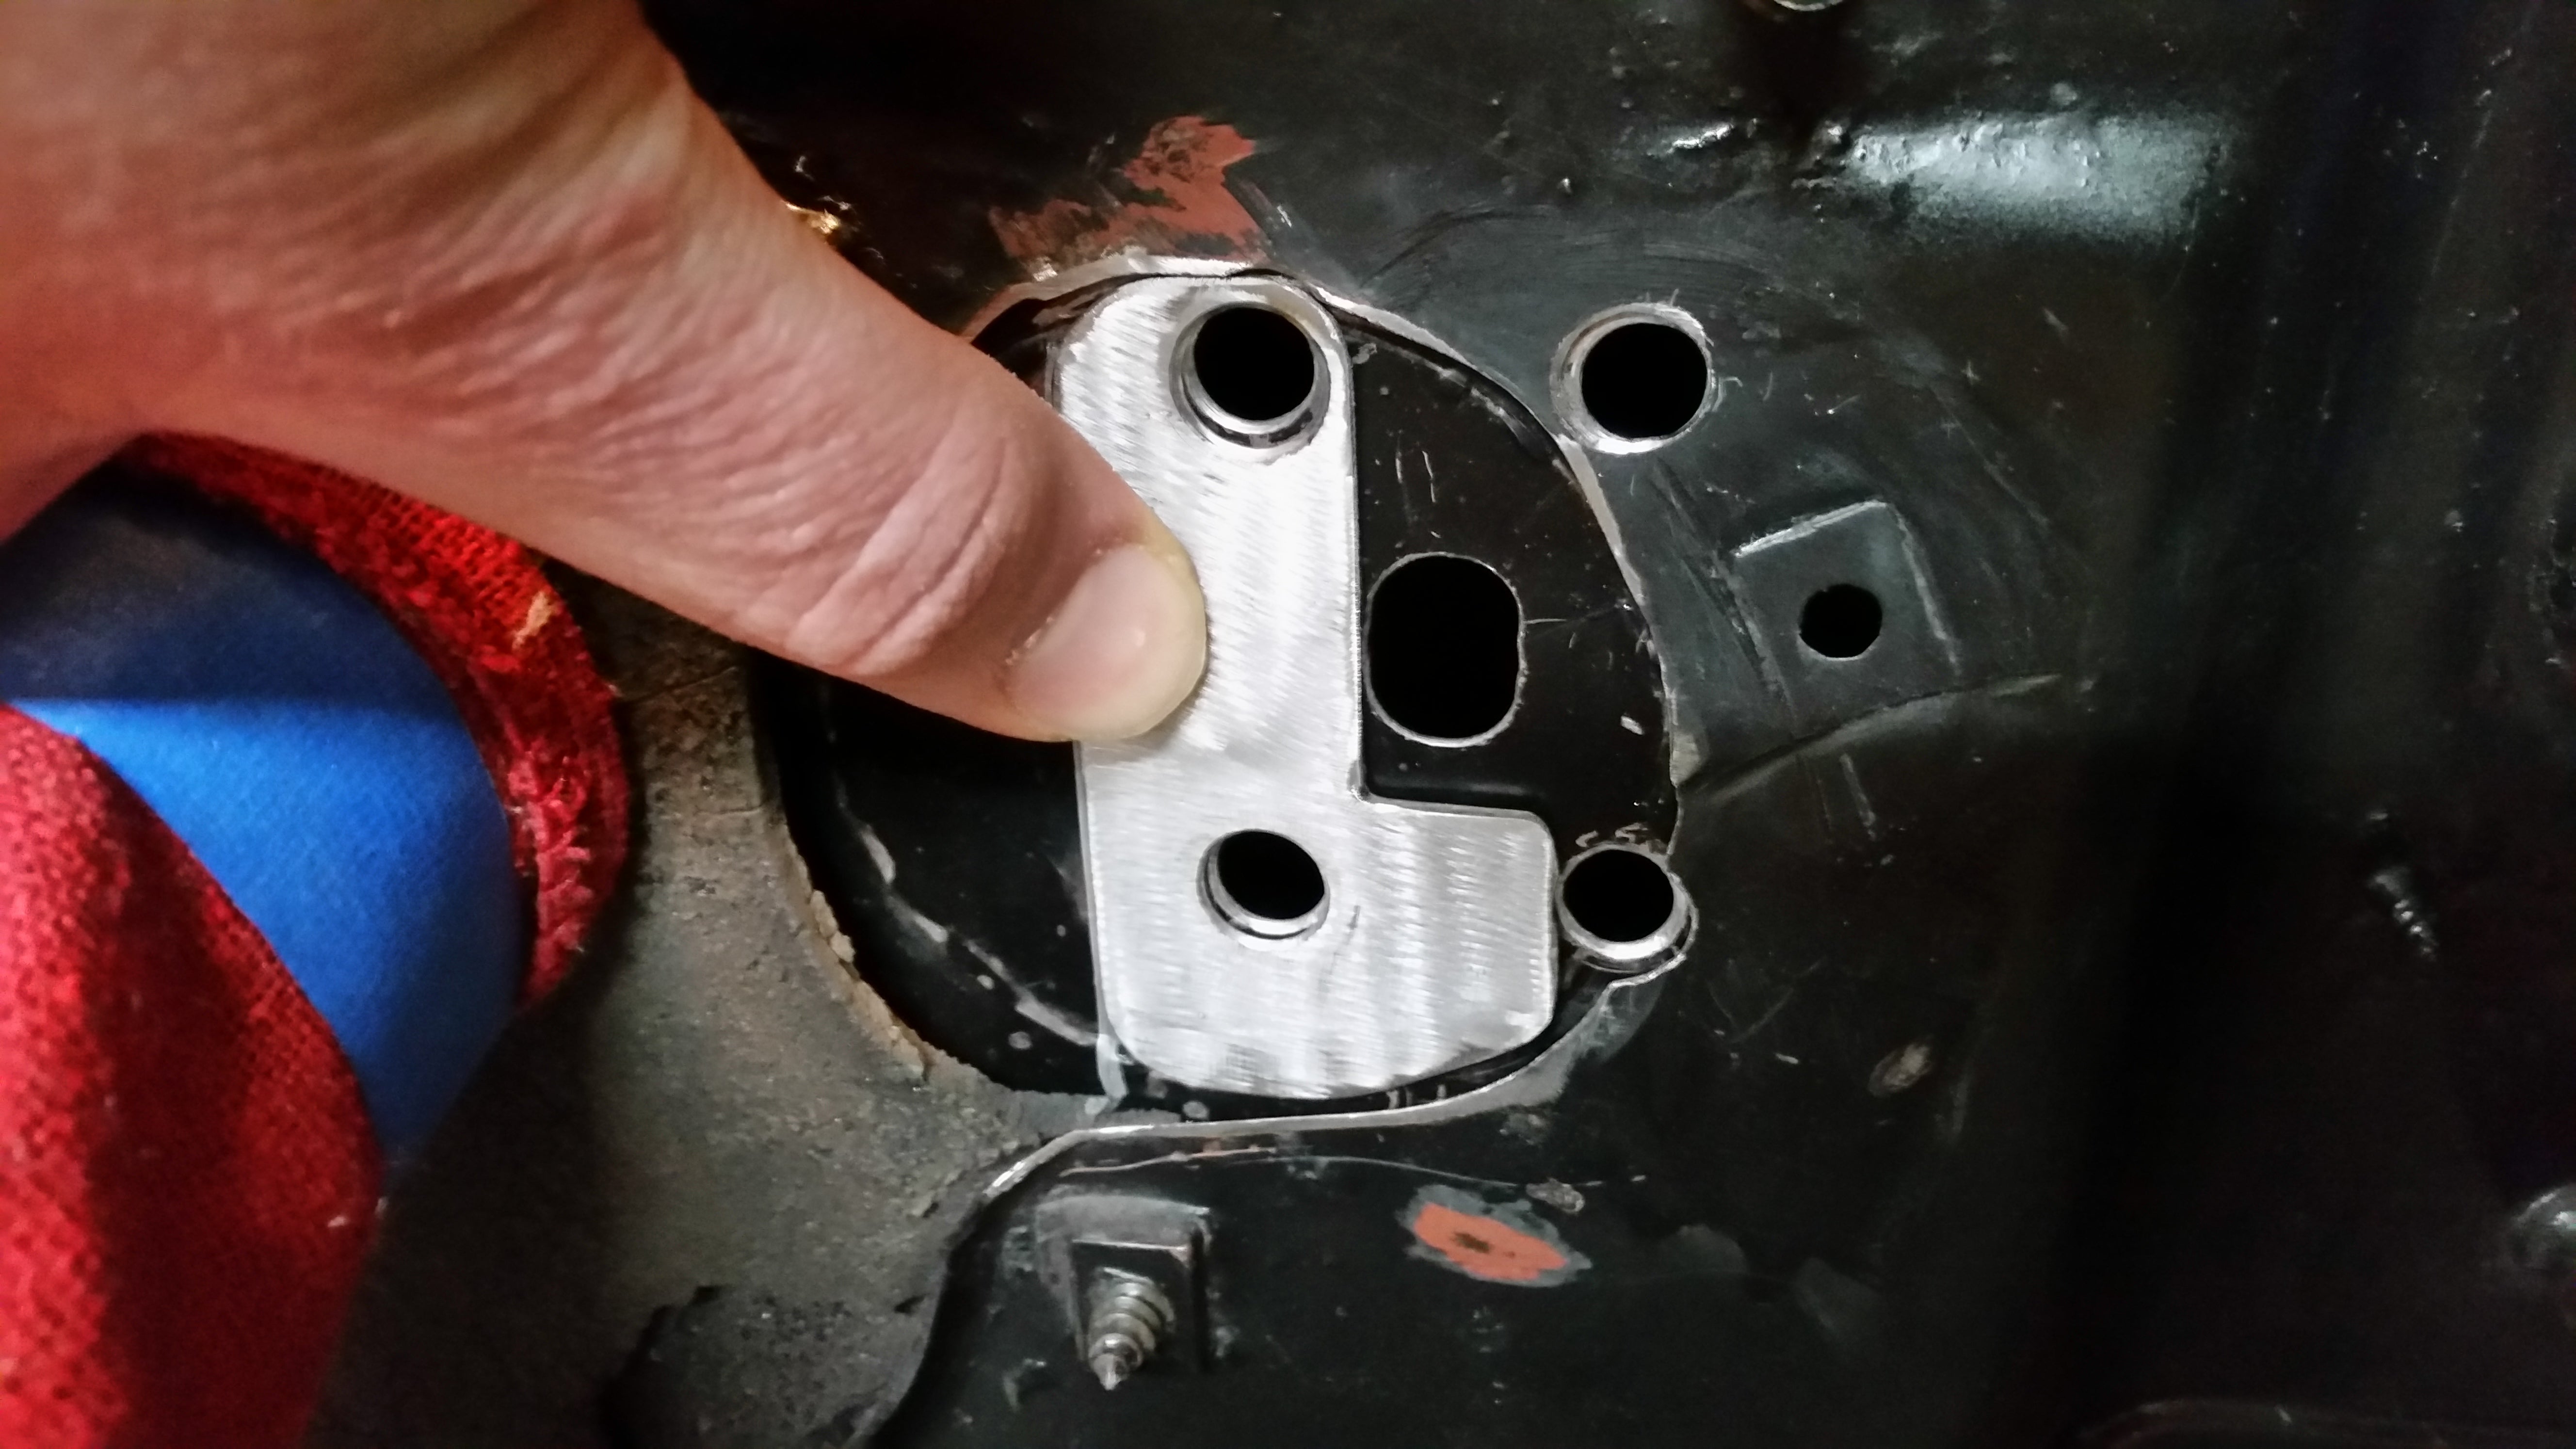 !!!CAPTION ERROR: MAY BE MULTI-LINE OR CONTAIN LINK!!!
While the paint on the shim dried, I addressed a couple other steps. For starters, no there is not a clearance issue with the brake booster. I checked like 15 times along the way of mounting this.
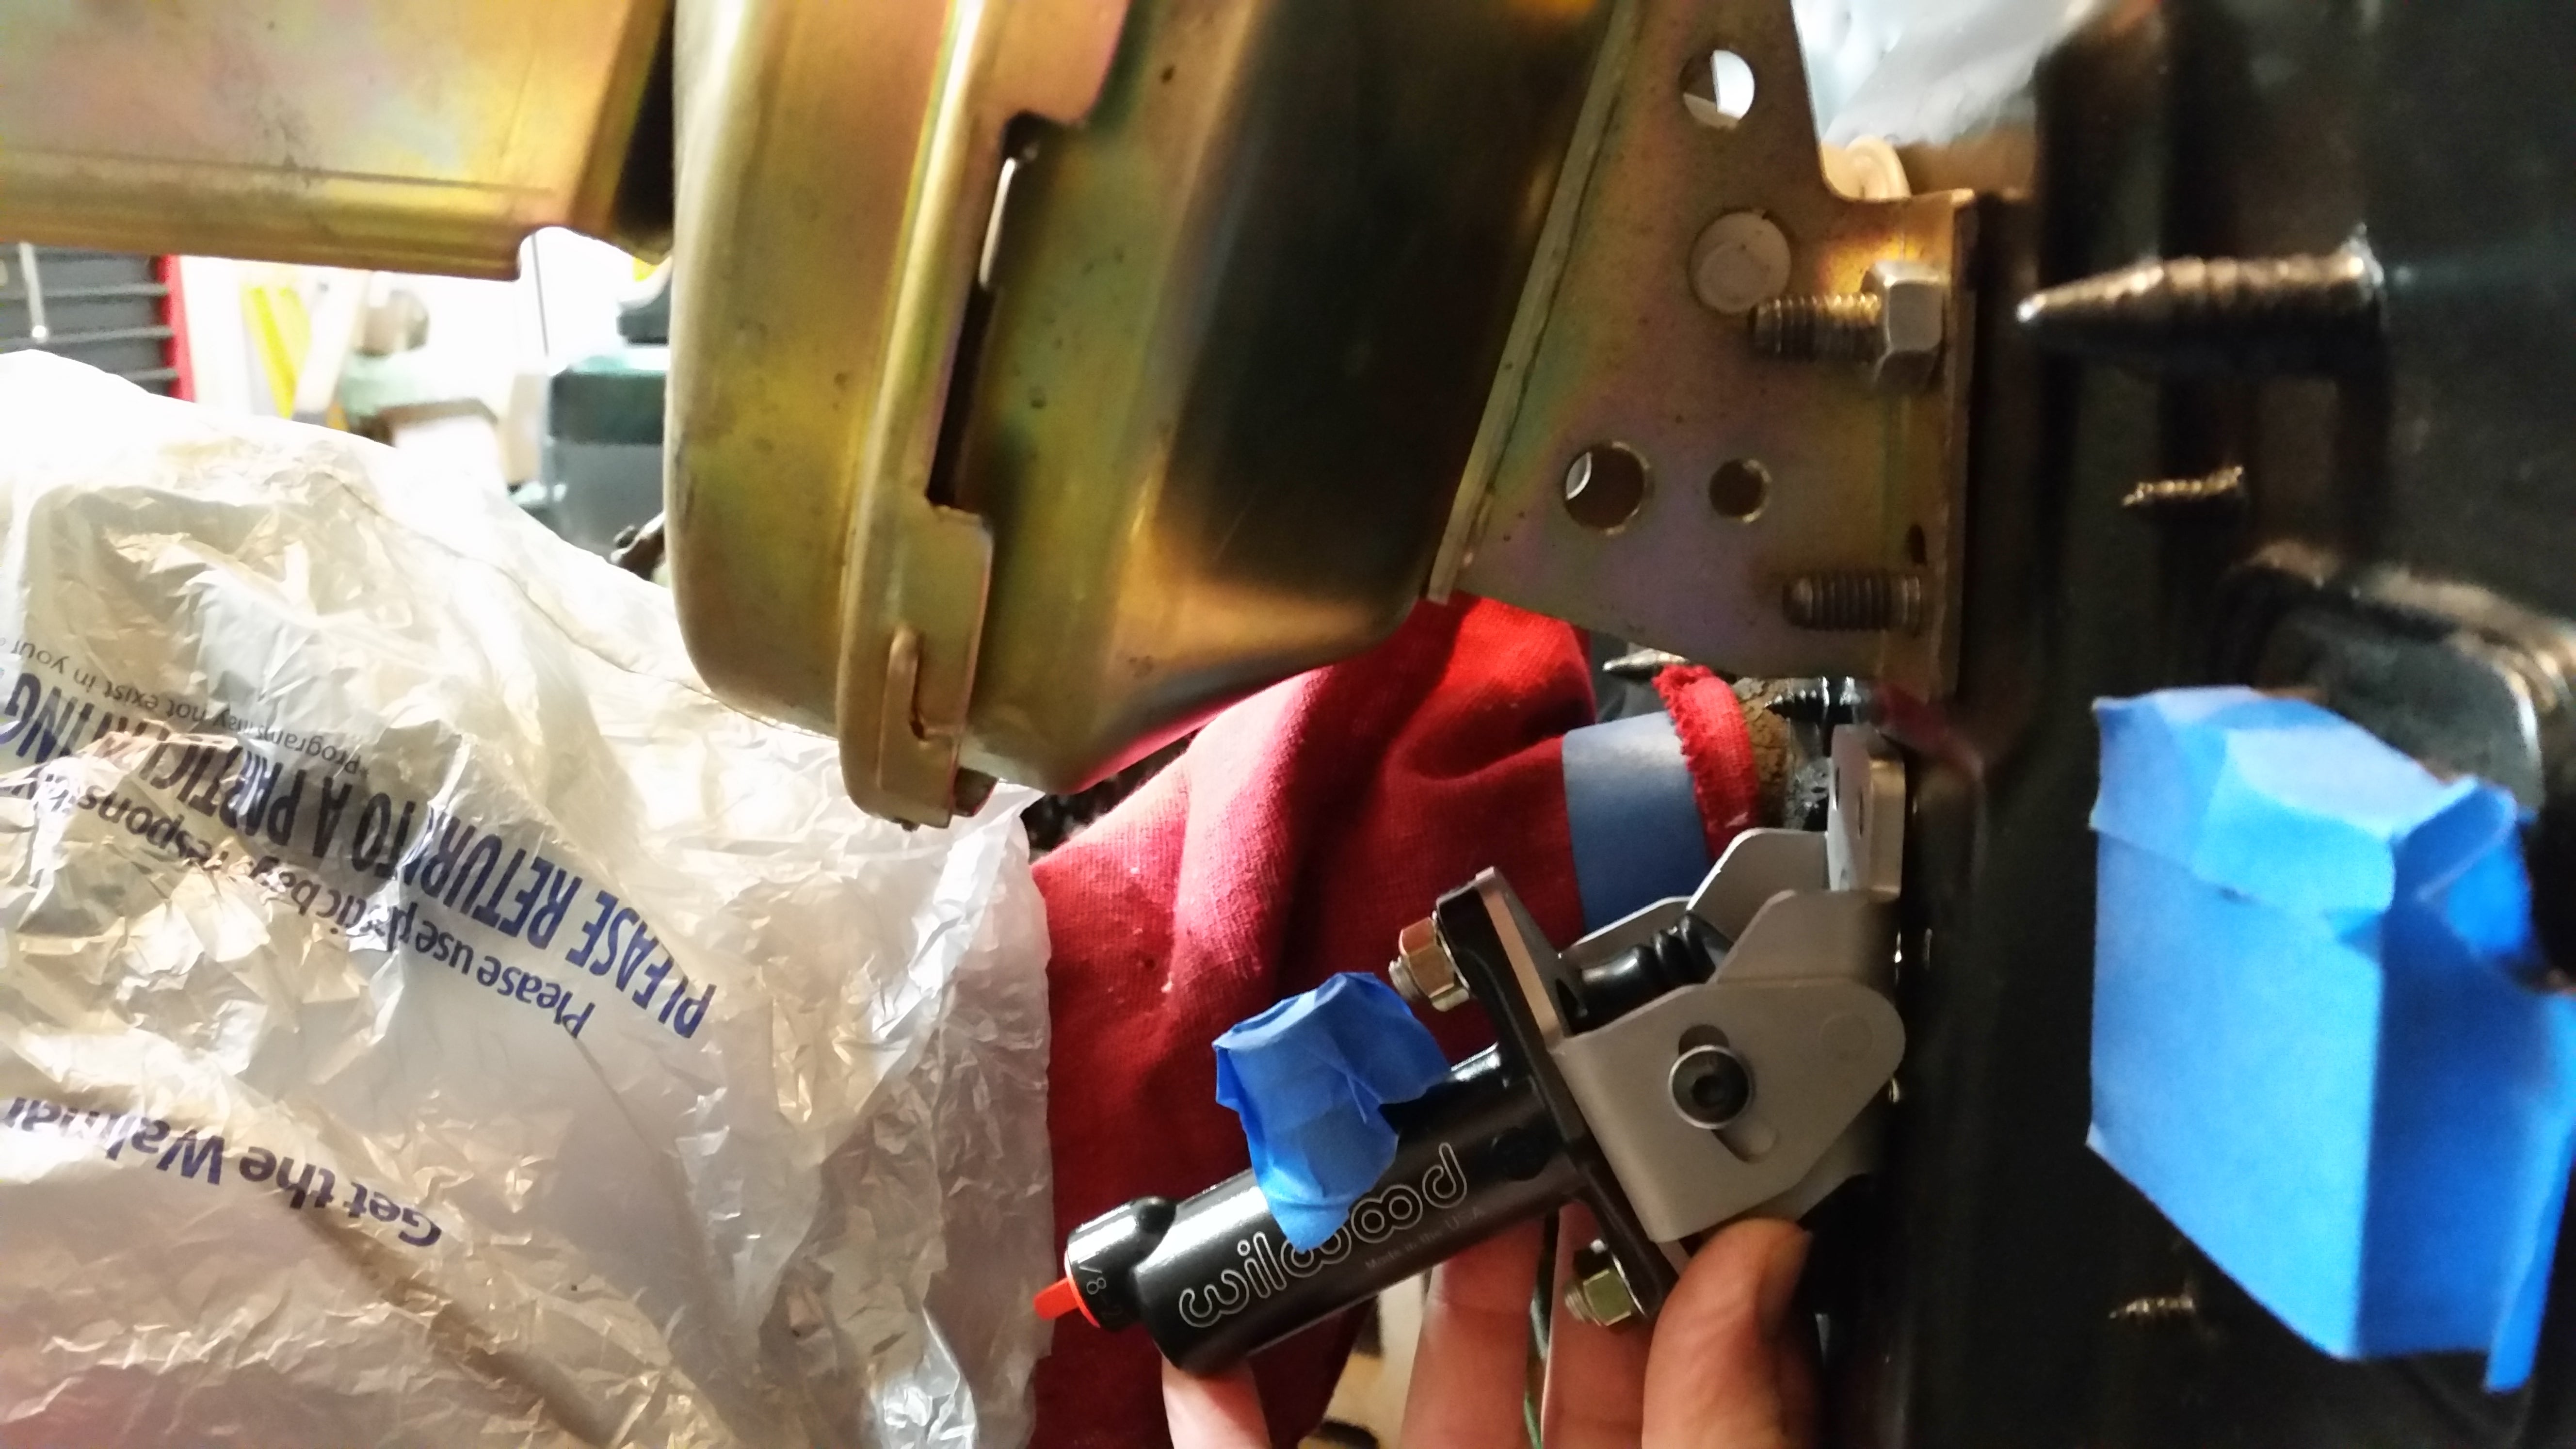
There is a remote reservoir so thatís not an issue, either. The brake lines may need slightly re-routed, though.
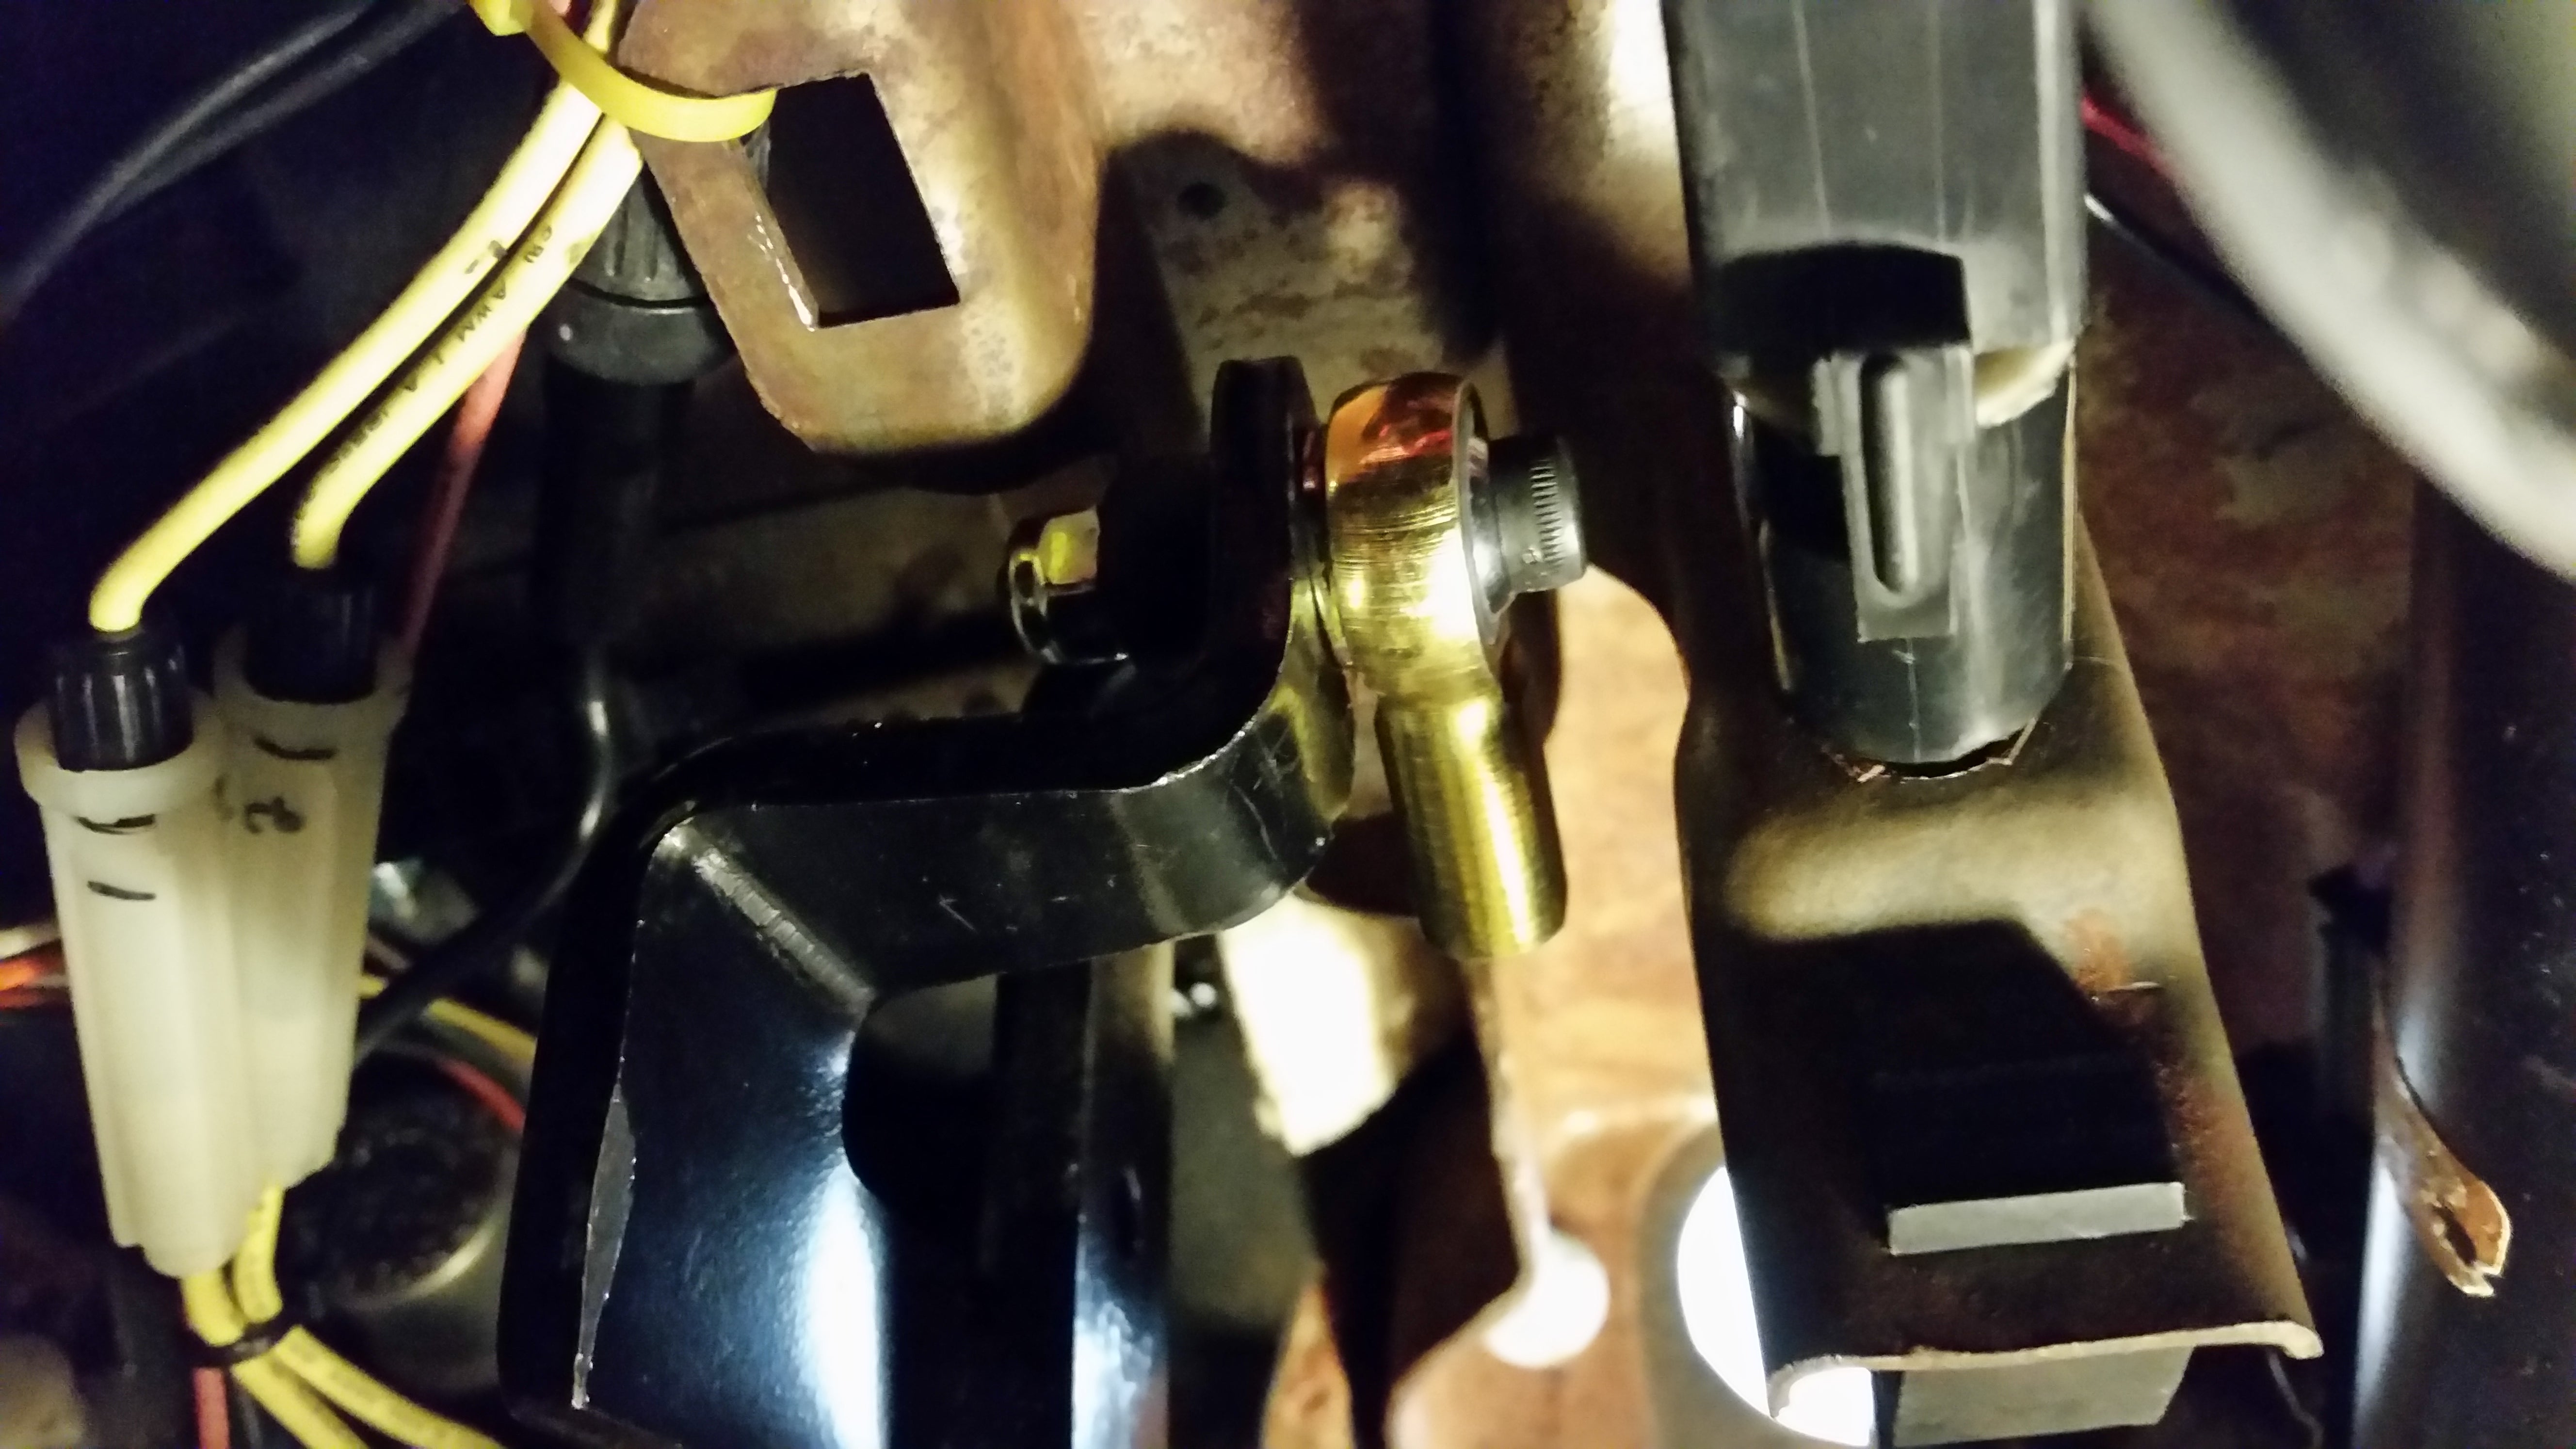
I also attached the heim joint to the clutch pedal. As a pleasant surprise, there is enough clearance for it. Mostly. I lose the top 1/2" or so of pedal travel; if this is an issue later on I will have to clearance the pedal hanger (visible below, where the nut is clearly going to hit it).
Meanwhile, the shim was done!
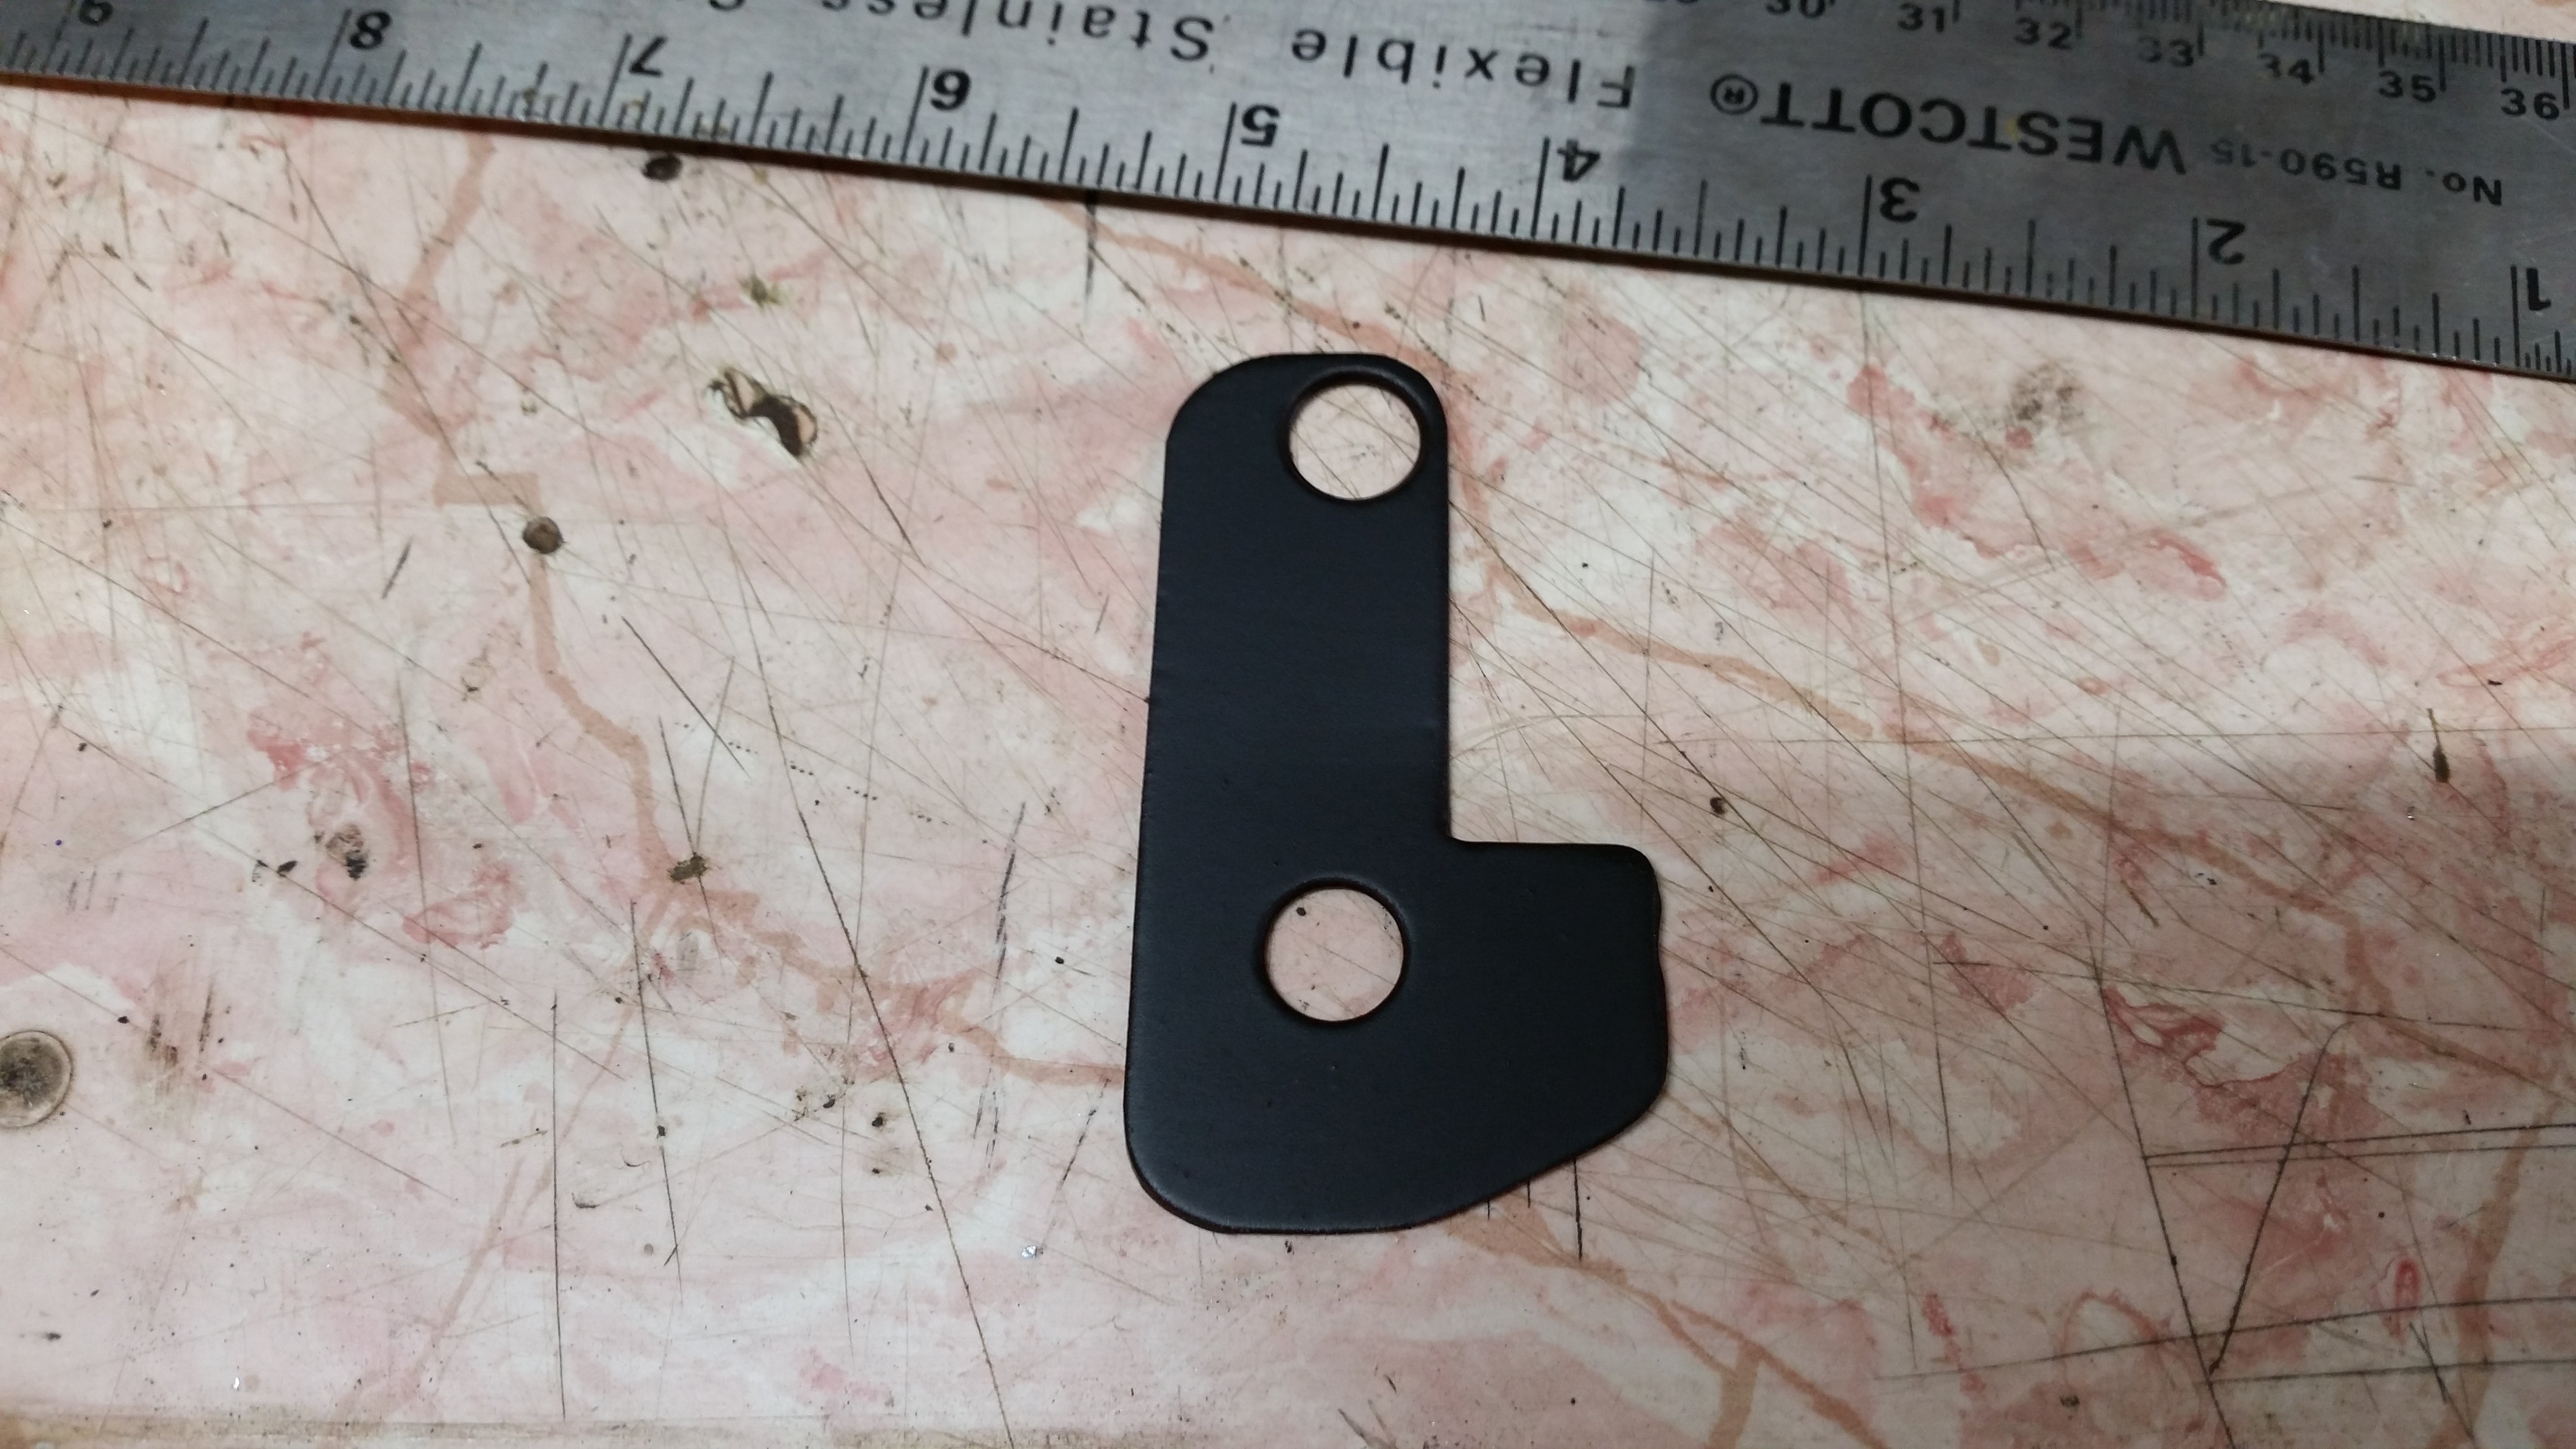
Flat black because it dries fast
I then had to get another set of hands to help me, since my arms are not made of magical goo which would allow me to hold the master cylinder in place while also starting bolts from the footwell.
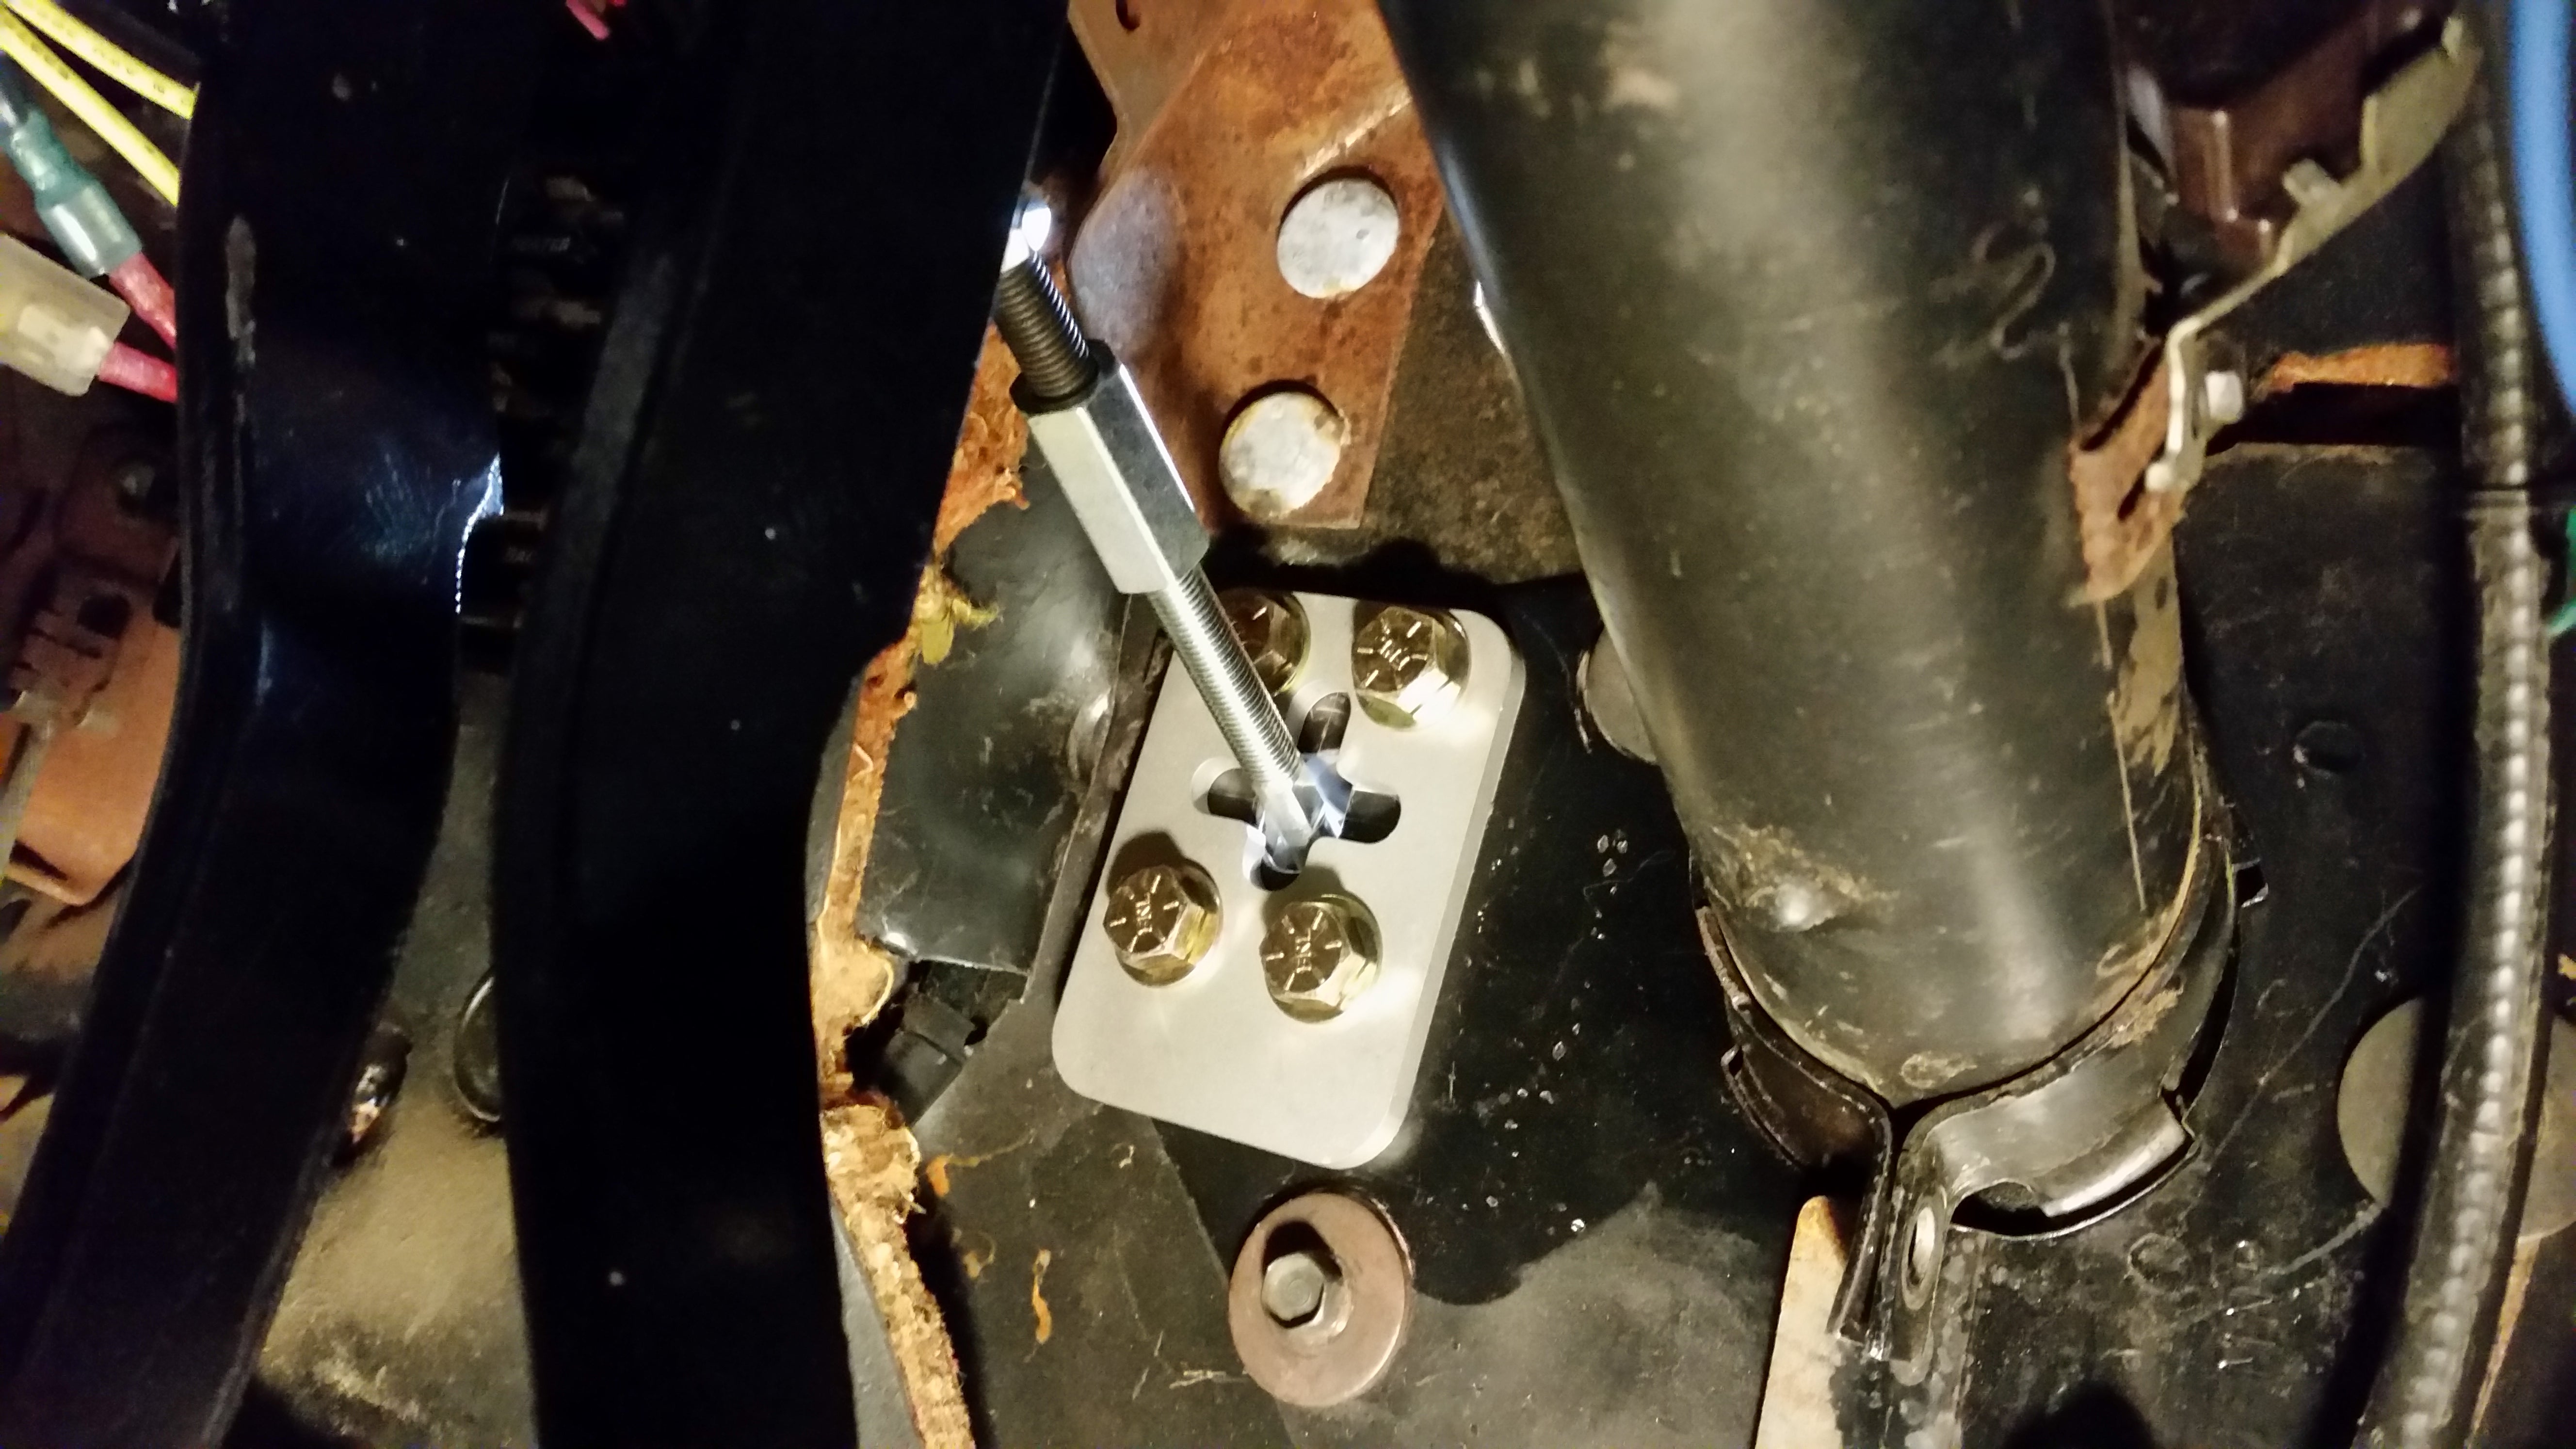
It was at this point I discovered two things. One was that my shim was not exactly thick enough, but not enough that the rod had clearance issues at this time. The other was that I hadnít factored in the washer on the bolt (two pictures above) and had to move all my holes about .060" towards the center of the car. Bummer.
With my help not too keen on waiting around all day while I took pictures of oblong-filed holes, I have no visual to offer here.
Fortunately, this allowed things to line up properly. The test-fit was complete, the MC taken back off, and help dismissed. The paint on the plate was touched-up, as well as the paint on the firewall where the flange had been removed.
The final installation (the next day, AKA
today
, with the same help) was not exactly smooth, but eventually everything was in place and tightened down.
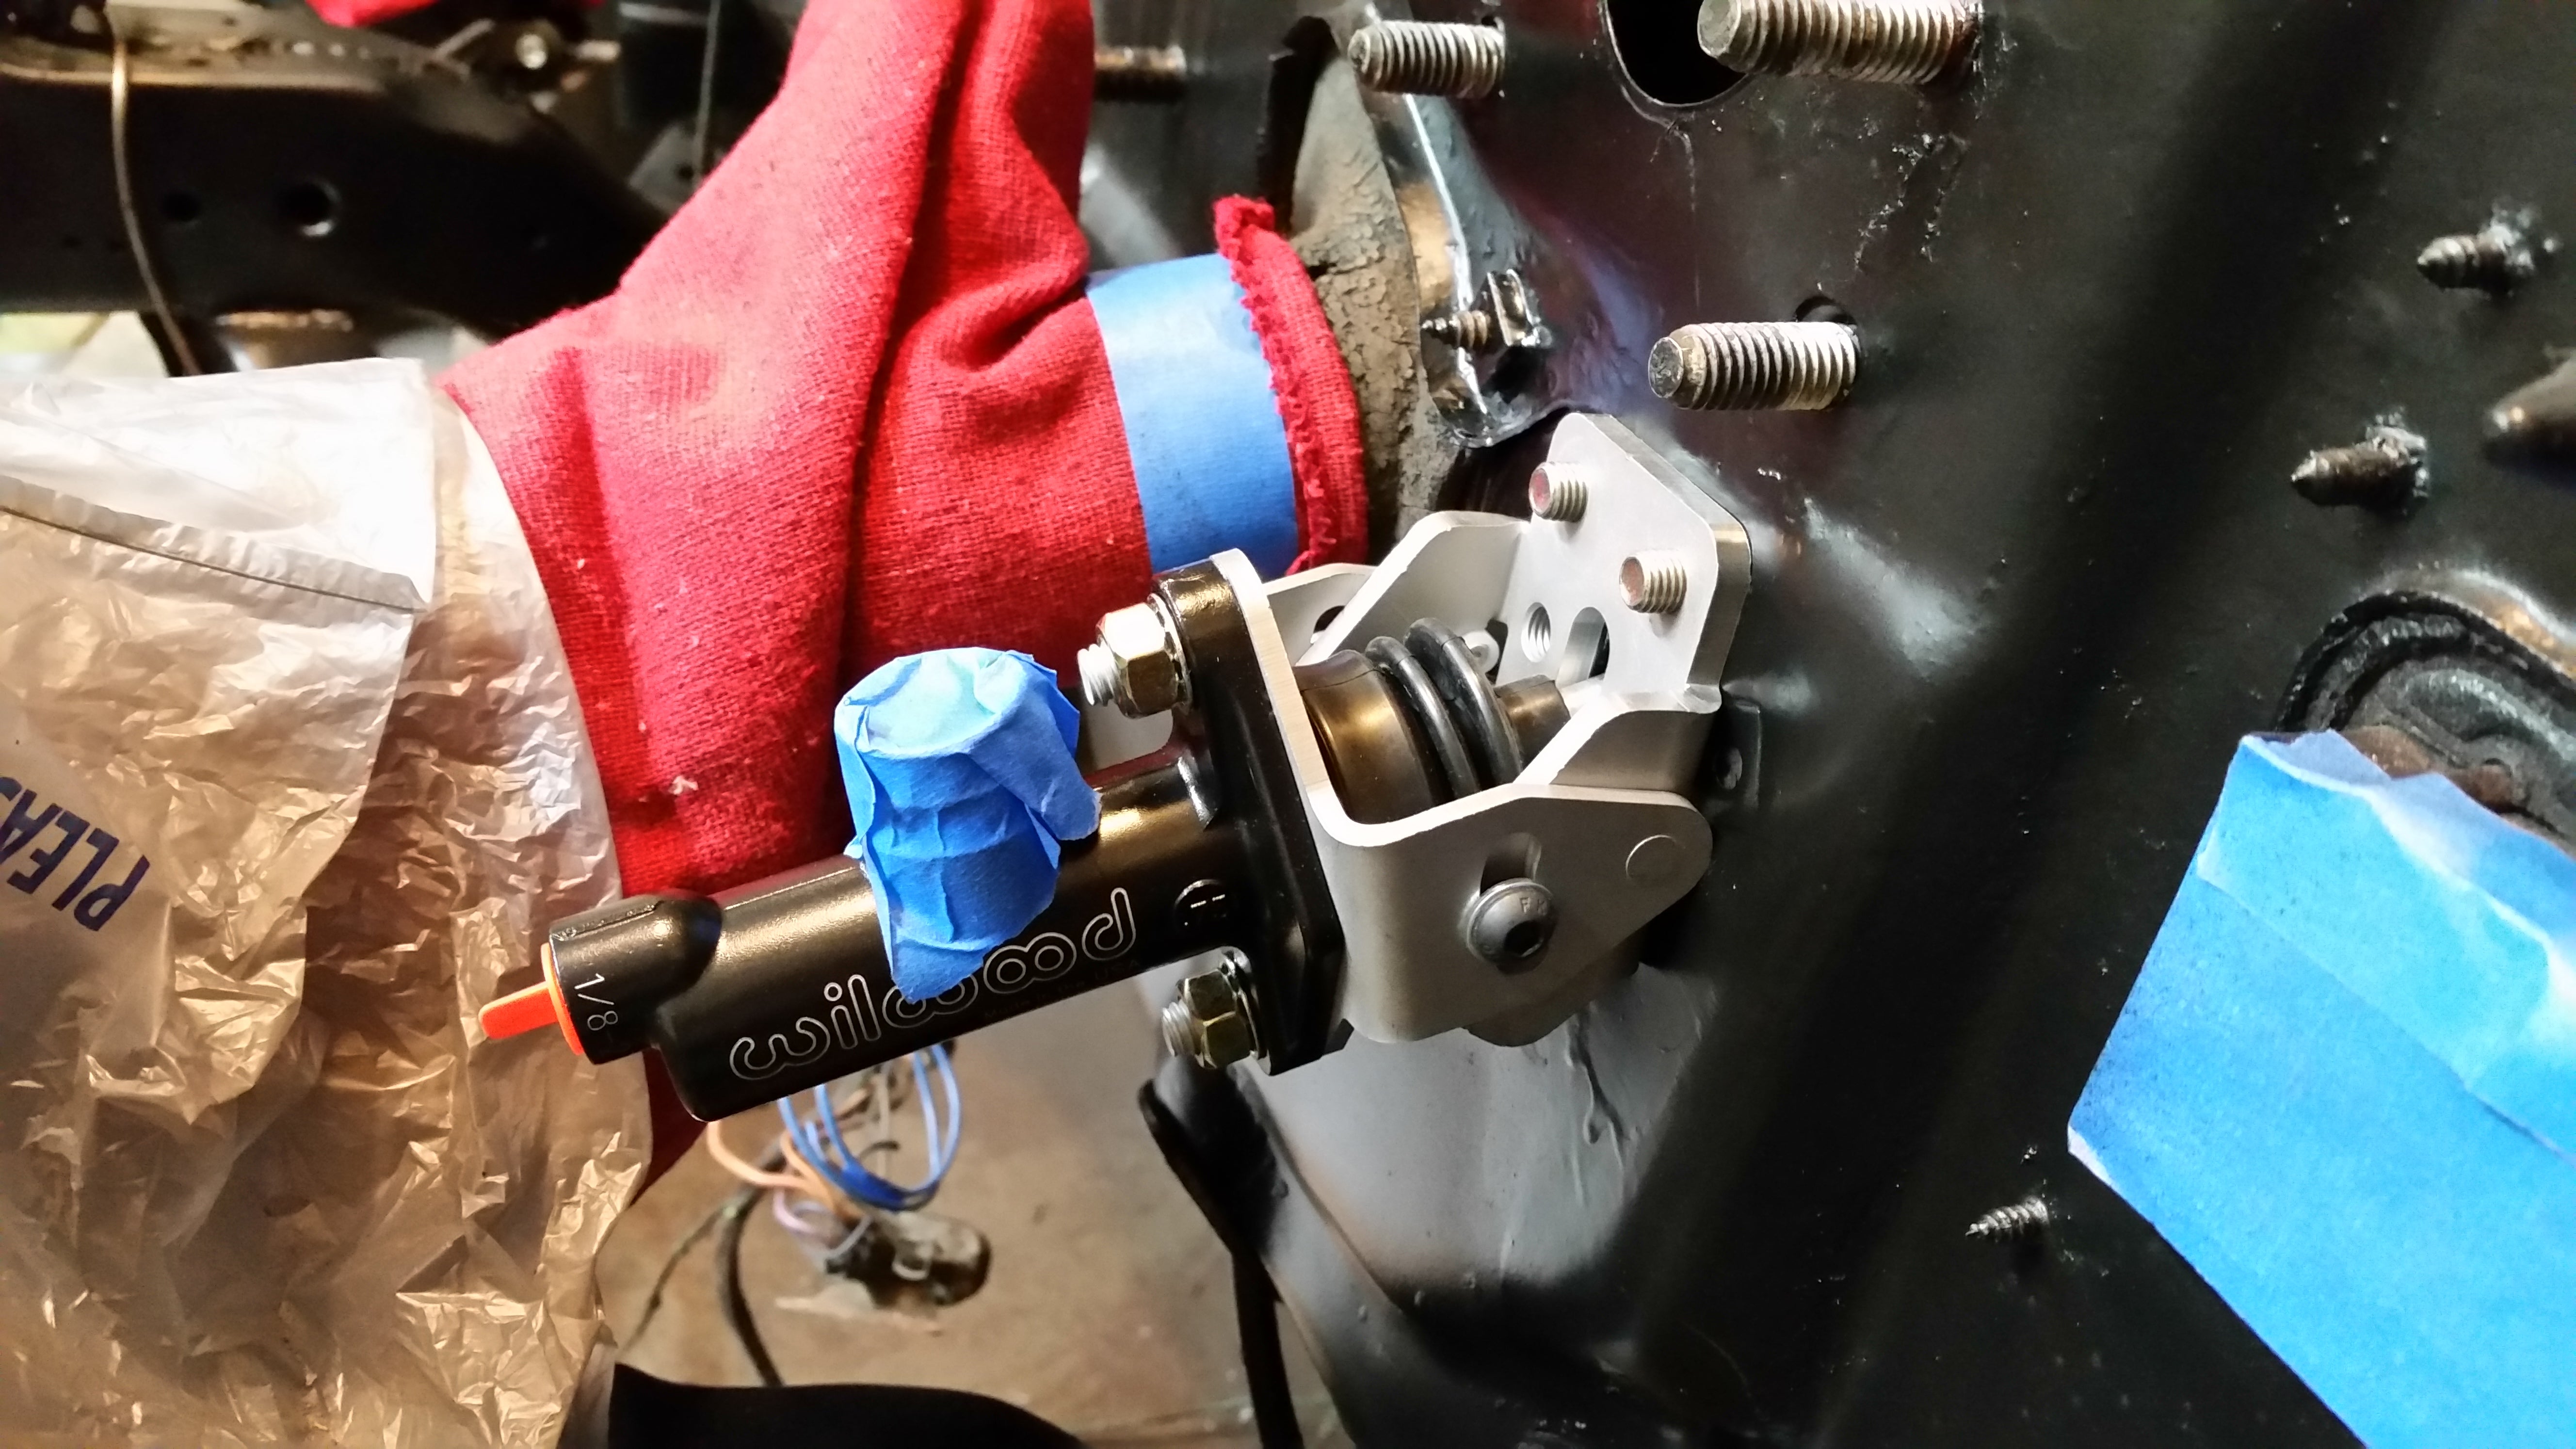
The angle is set by loosening the adjustment bolts, depressing the pedal all the way, and tightening them back up. It has been set in the above picture, which is how it currently sits.
The rod moves freely, though I do need to slightly shorten the rod from the pedal to the MC (doesnít require MC removal), as the piston
is slightly depressed with the pedal all the way up.
In Part 3 of this series (which wonít be for quite a while) I will be fitting the hydraulic throw-out bearing, etc.
 sony1492
> MM54
02/19/2019 at 23:04 |
|
On one hand this looks like excessive e ffort. B ut on the other, this is exactly why we fiddle on cars (to - build- something)